Your bicycle is beautiful and deserves a beautiful photograph. These are my tips for taking magnificent bicycle images.
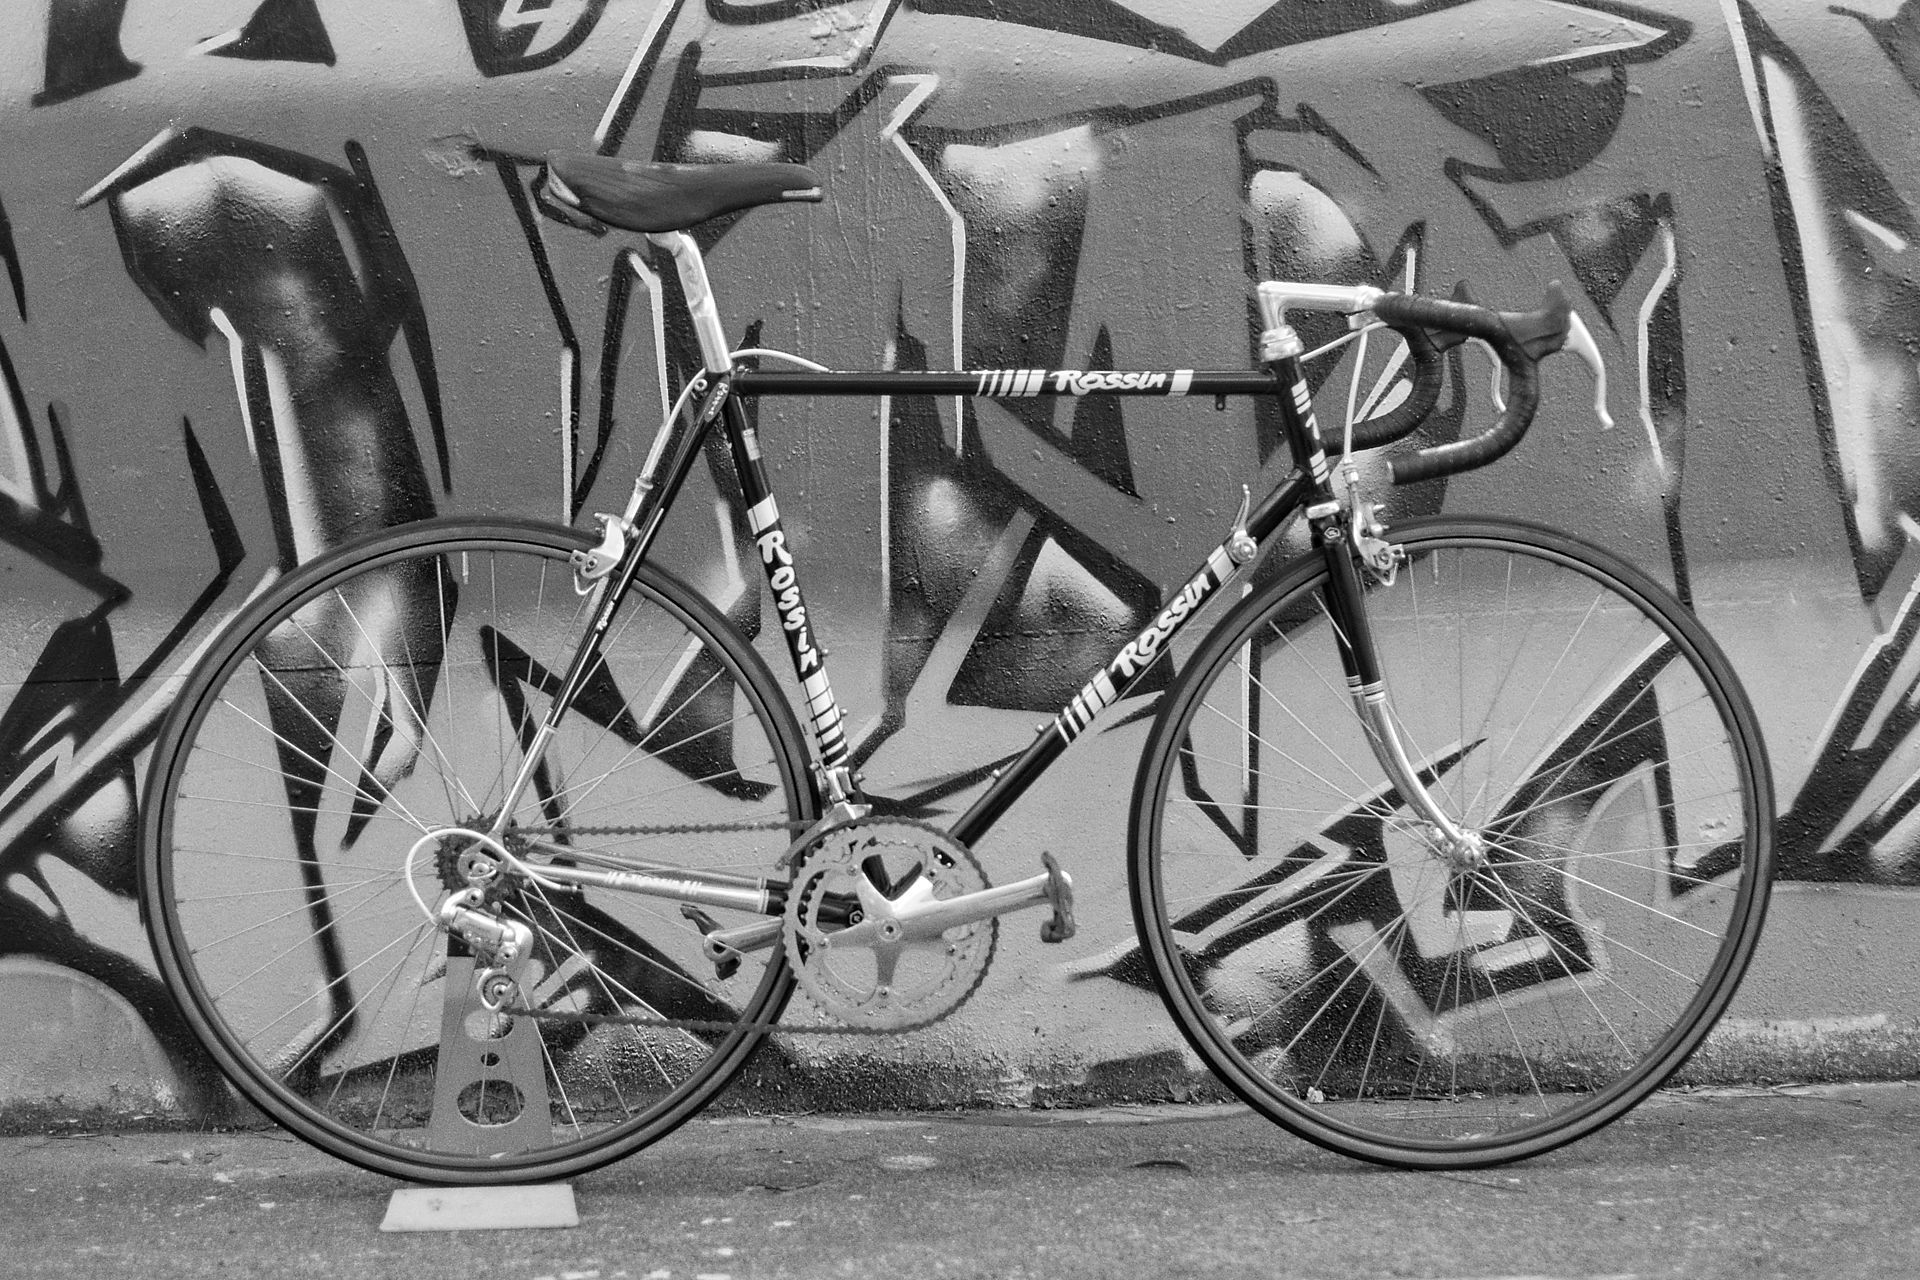
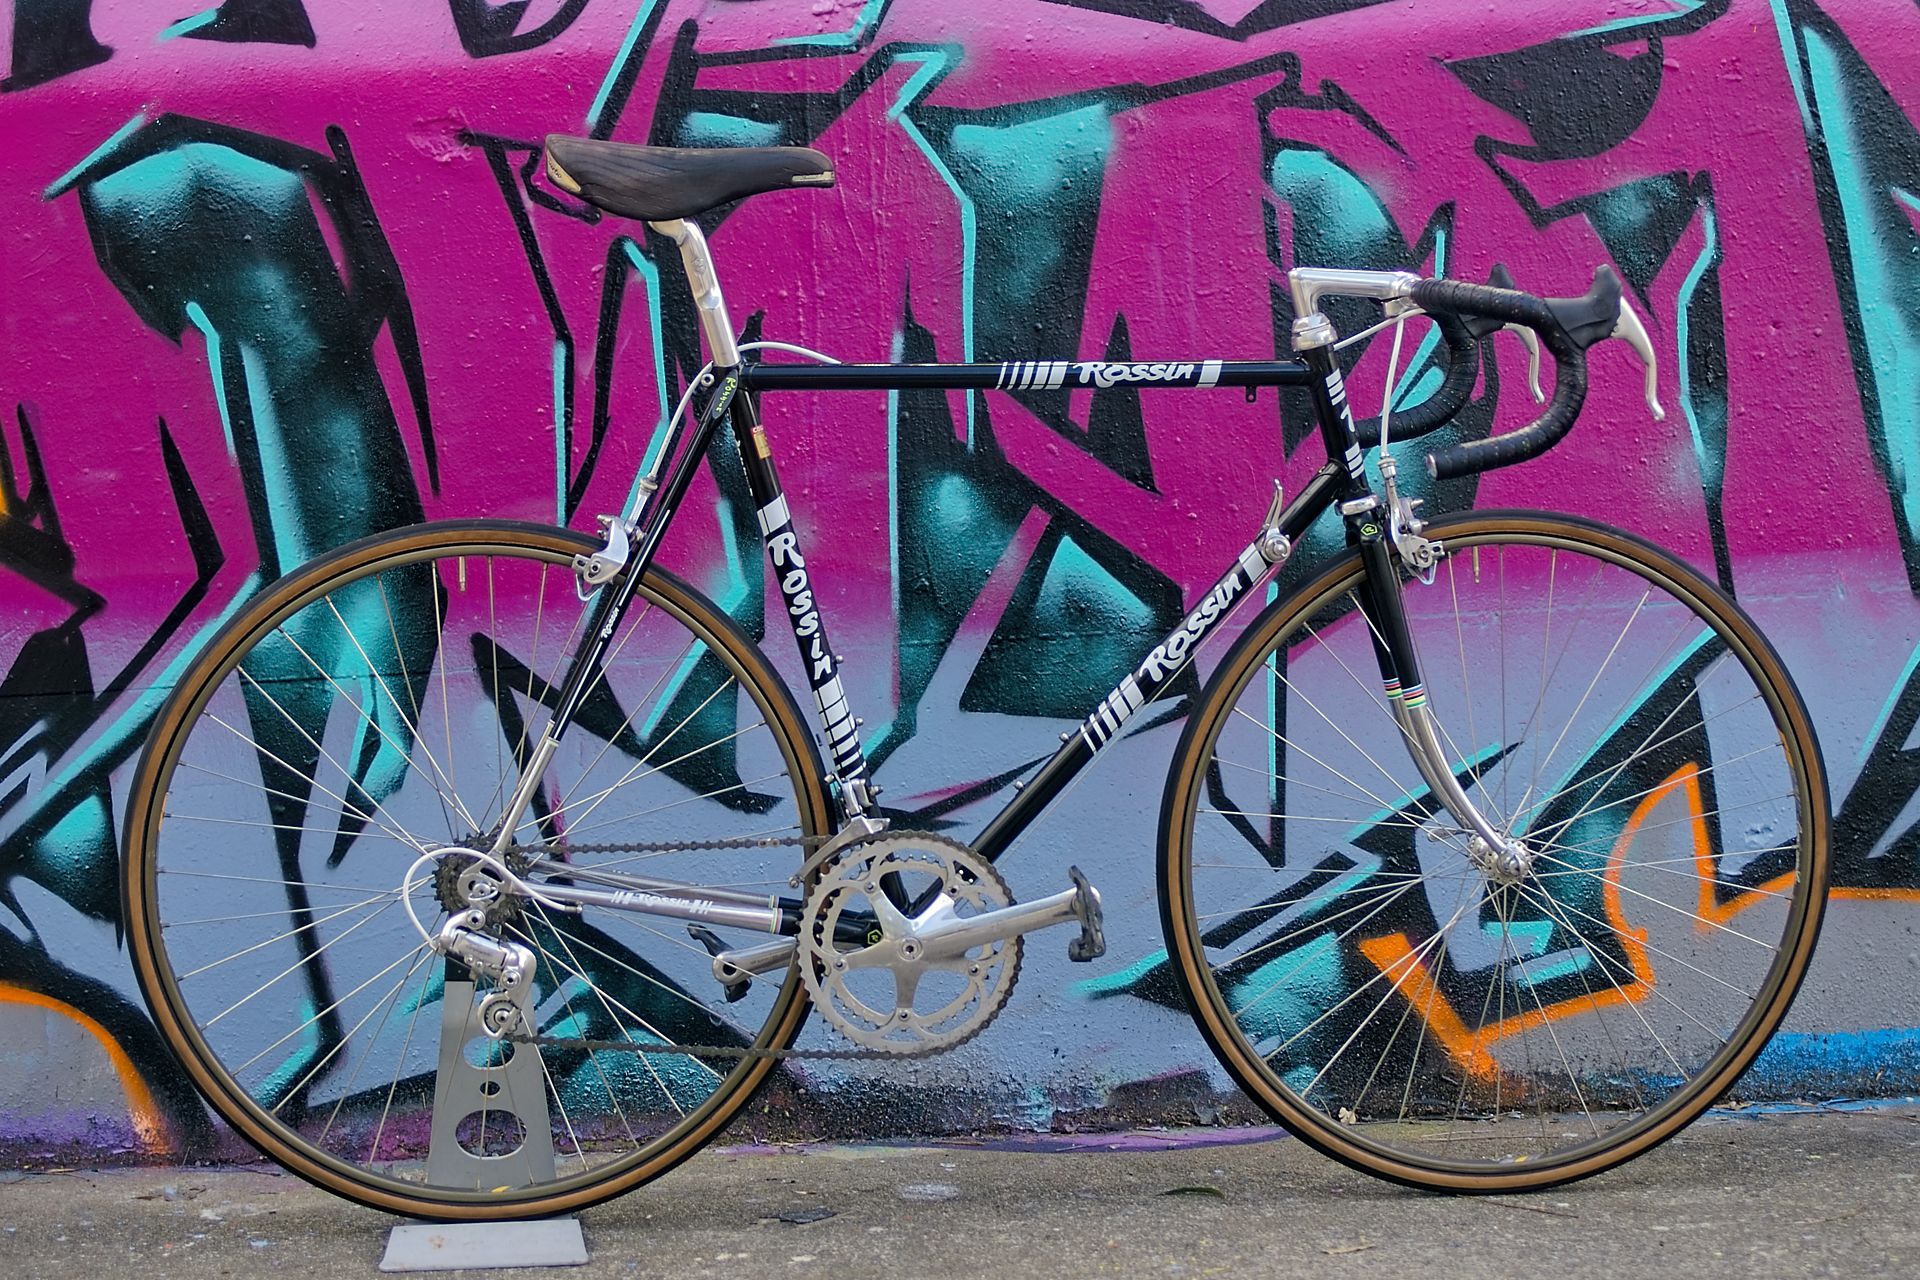
The profile is the essential beauty shot, the bicycle shown in all it resplendent glory. This one’s easy, right? Prop it up against something, whip out the phone, job done. Not even close. Before we can take the shot there’s things that need doing first.
The Bike
Unless you are trying to tell a story about your tough gravel or mountain bike – Clean The Bike. Seriously. Do it right, chain, drivetrain, tops of the brake pads, under the headtube and forks, chainstays, seat and bar tape, under the bike, the whole enchilada. Maybe give it some wax too, the frame not the chain. Attend to any missed spots with a rag and some degreaser. I use an ALDI wet wipe, works fine for detailing those spots you missed like the grease on the cable housings and those tricky spots around the dropouts, brake caliper anchors and the bottom bracket from the last time you dropped a chain. Maybe a little metal polish here and there on the drivetrain.

The Location
You’ll need a suitable location, preferably with good separation between the bike and background because its all about the bike. If you’re after a travel shot, the bike in its surroundings, different story and not what this article is about. You need even light and either separation from you background which means plenty of distance or a spectacular backdrop like a graffiti covered wall.
Shooting out in the sun is going to cause exposure problems, washed out images and is best avoided. Off camera light is not part of this conversation, but knock yourself out if you have lights and reflectors and know how to use them.
The Camera
The best camera is always the one you have, but a camera with removable lenses offers better control of the image. Sure you can use a phone as well, follow the guidelines for the best results.
The Lenses
I’ll use a number of lenses, a tele zoom for the profile and a macro for details. The tele zoom allows you to control the background by standing back and zooming in on the subject. This compresses the background which in conjunction with a large aperture provides the smoothness that eliminates detail in the background. But you do need plenty of space to do this, you won’t be able to do it in your living room. Just to make the point the image below taken with a 500mm lens @ f8 from a few hundred metres away. The background is a smooth wash of colour and the subject pops right out.

The Tripod
The other secret sauce is the tripod. I’m using one that articulates in every direction which allows precise positioning of the camera. I can take the same shot over and over until I am happy with it. The image below shows the tripod at work in the garden.

The Profile
Pause now and eyeball your location. Look for soft light but not deep shade. Look to position your bike parallel to the background at a distance suitable for the type of background and put the bike at the spot you have chosen. Naturally you’ll have brought a stand and preferably one that’s unobtrusive. If you do this a lot you should have one and even if you don’t go buy one so your bike is not leaning on stuff at home.
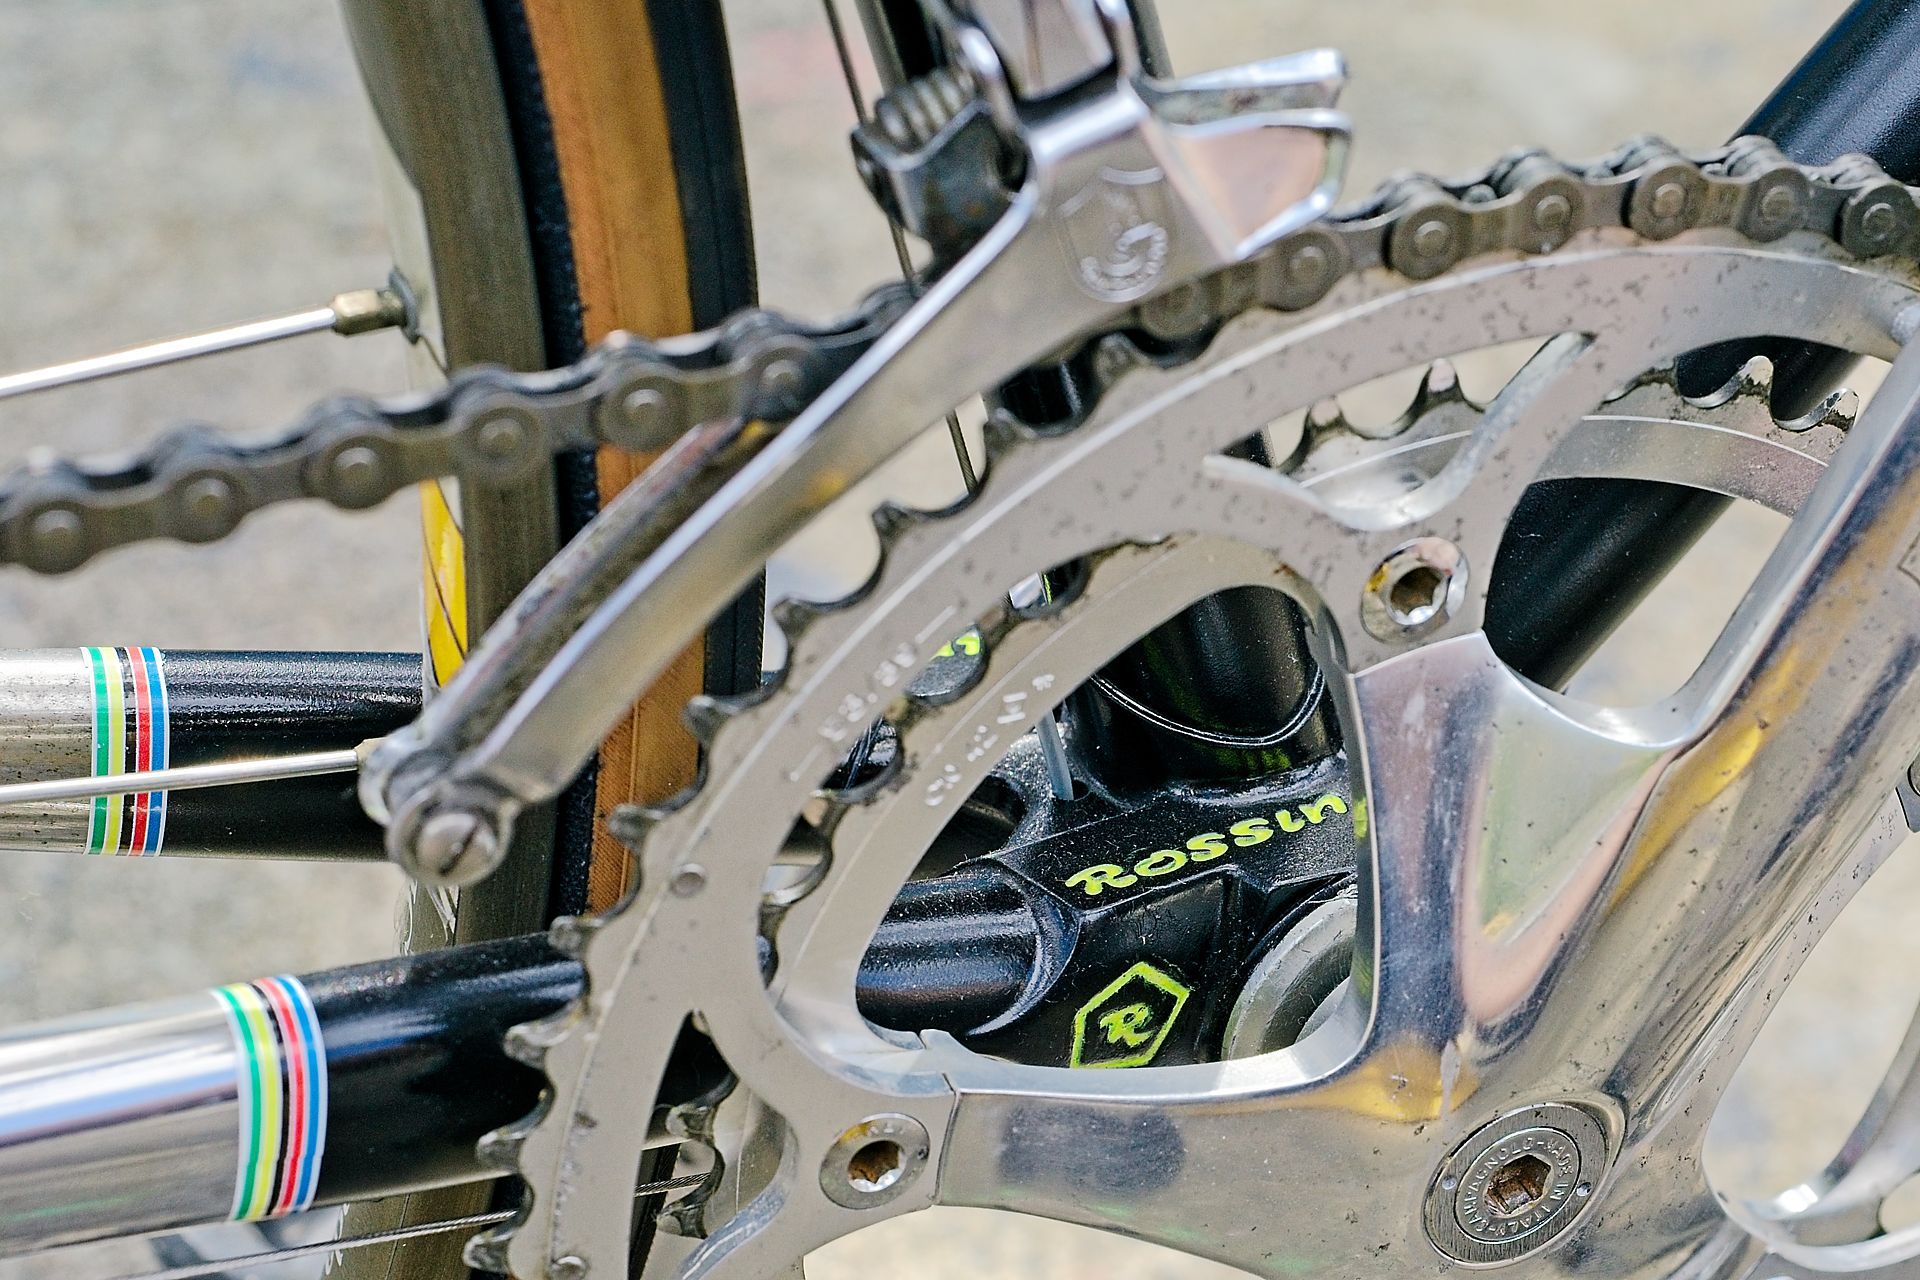
The golden “rules” for setting up the bike are drivetrain side out, valves at 12 o’clock, cranks aligned to to the rear stay, drivetrain side forward. Remove anything that shouldn’t be there, bidons, bag, pump etc. Chain rings biggie smalls although this looks weird on some drivetrains like the one below. While rules are meant to be broken, these should be observed.

Then position yourself some distance away and low. You should be shooting with eye level just above the crank since you do not want to be standing looking down. Pro tip right there and this is where the tripod is handy.
Set your camera to aperture priority, aperture to the biggest possible (smallest number f2.8), zoom in to frame the shot, focus on the downtube or toptube logos and take your shot. Review and make corrections until you are happy with the focus and exposure.
We are on a fashion shoot now and your model isn’t going to pose by themselves. You can move the bike in and out from the background, control the background with more or less of it in focus, take plenty of shots. If you are using a phone, shoot landscape and use a portrait mode if you have one.
Details
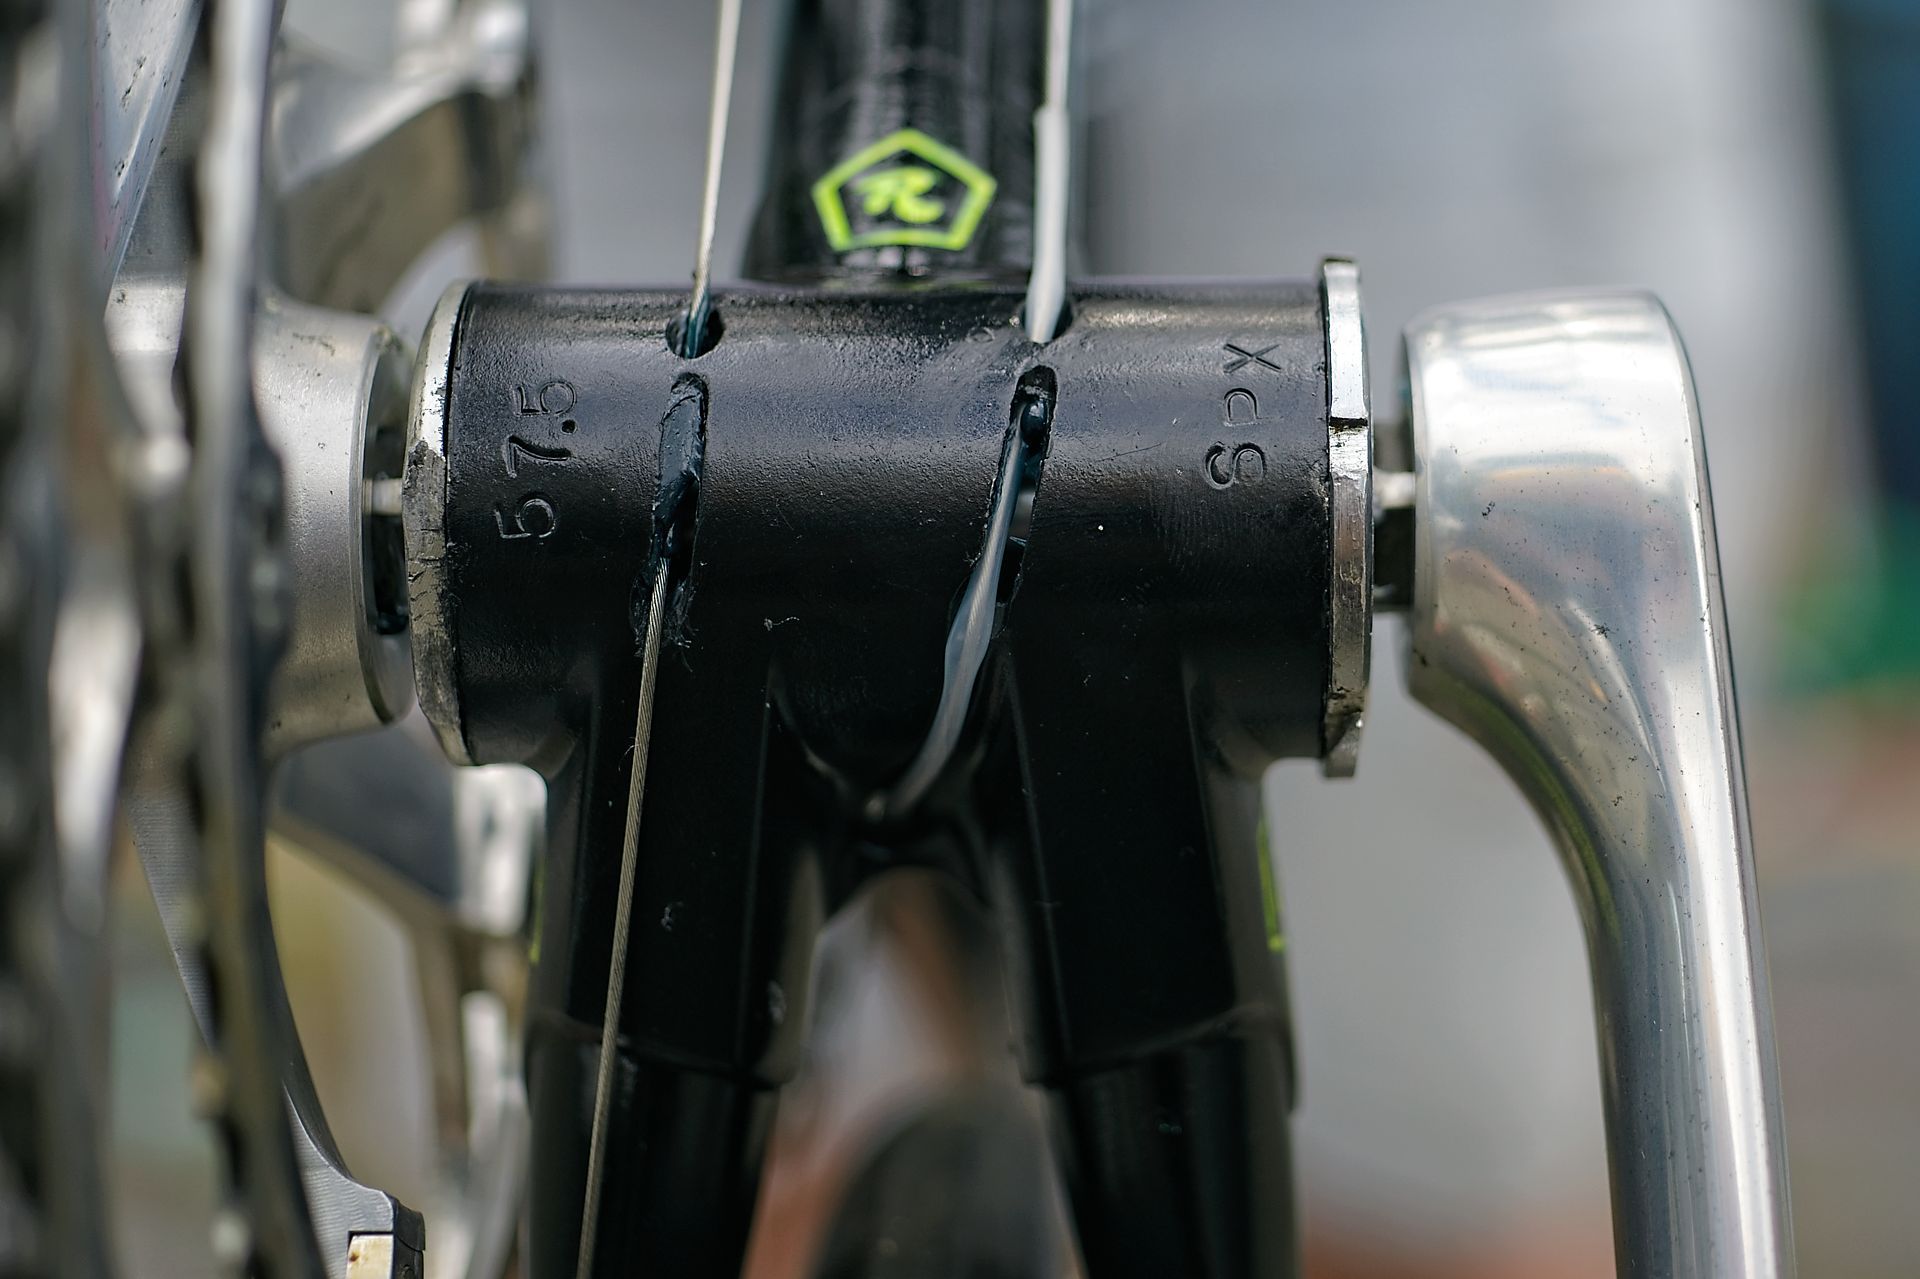
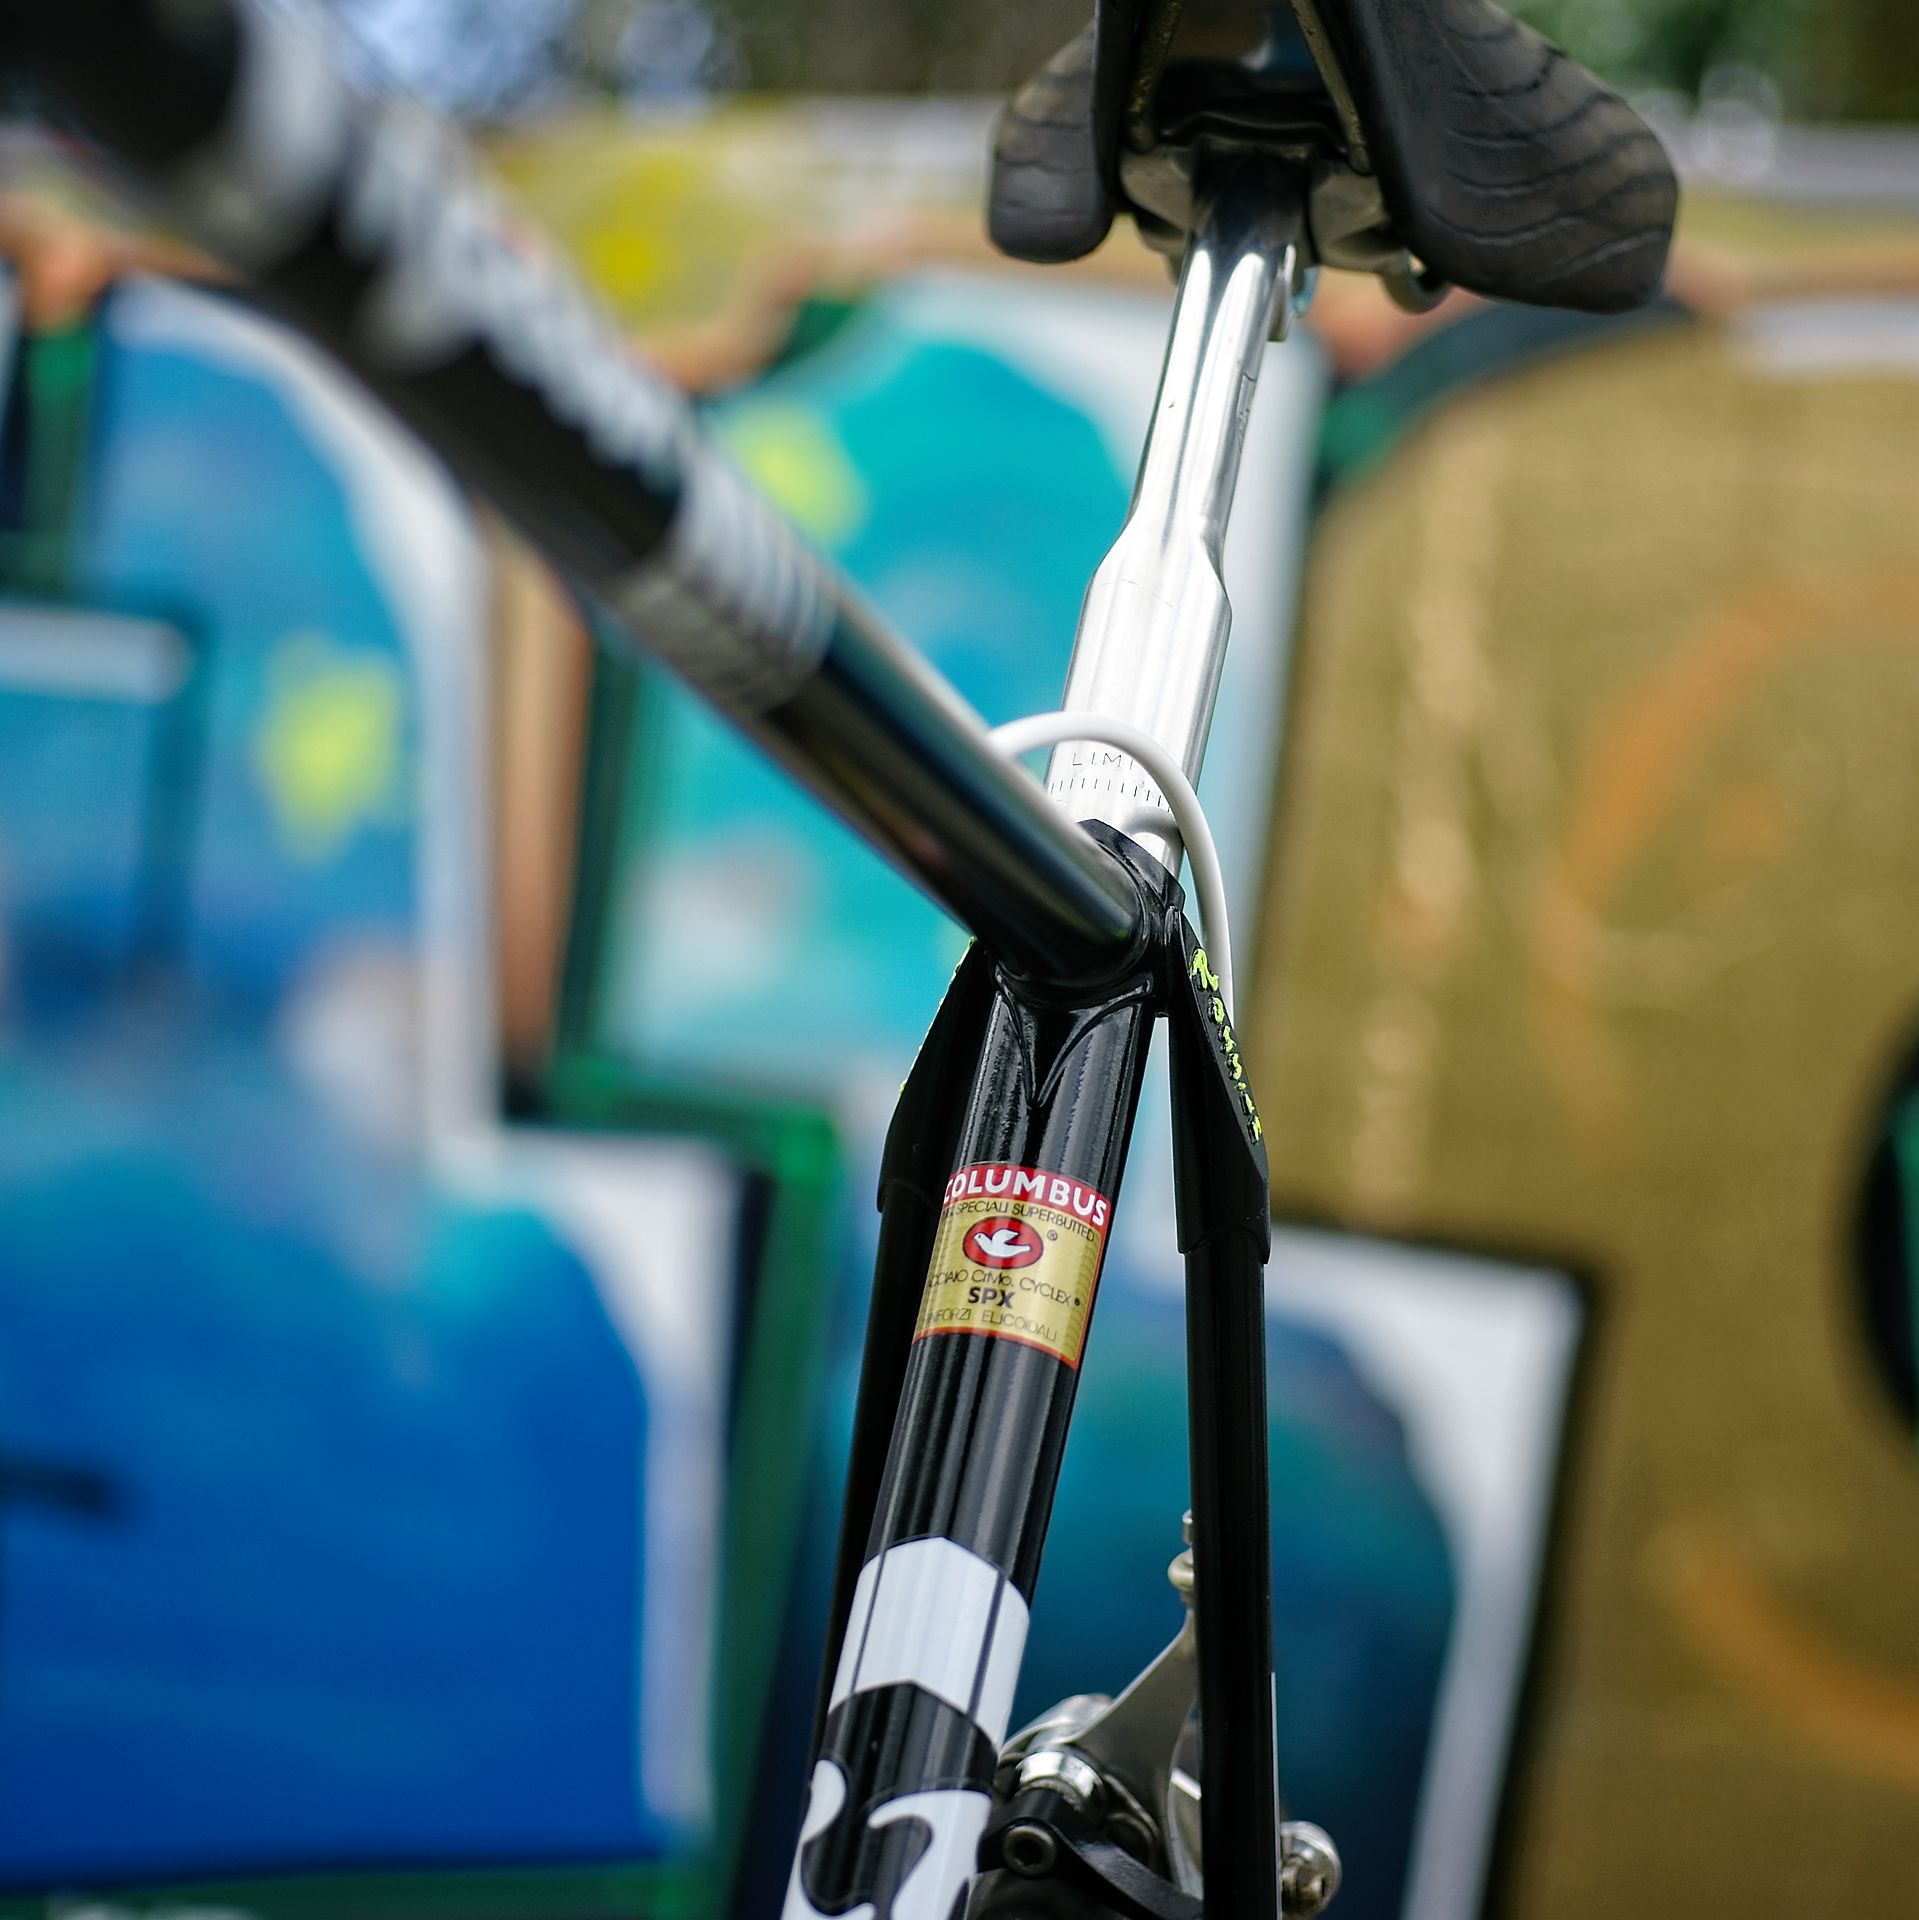
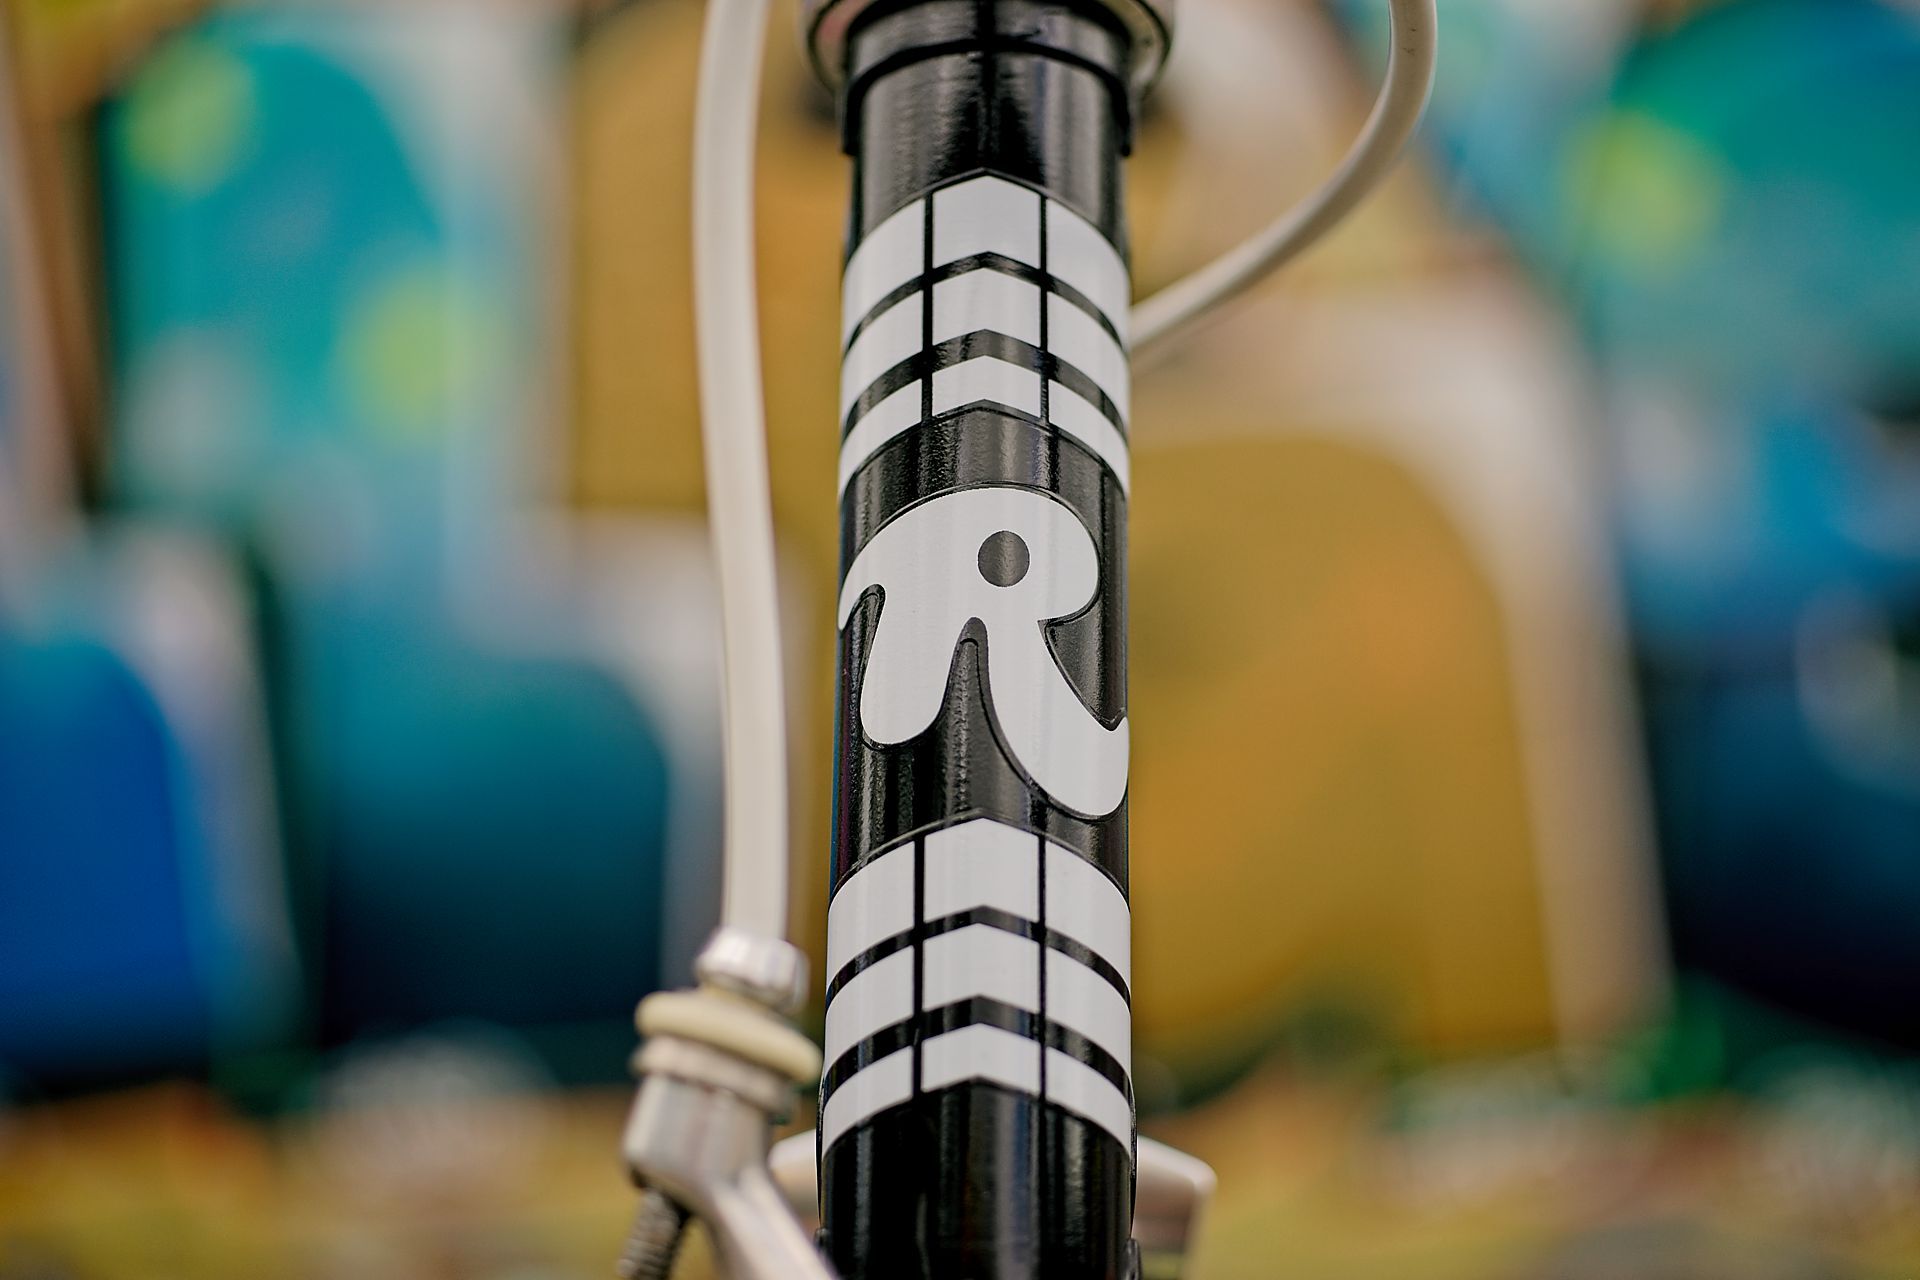
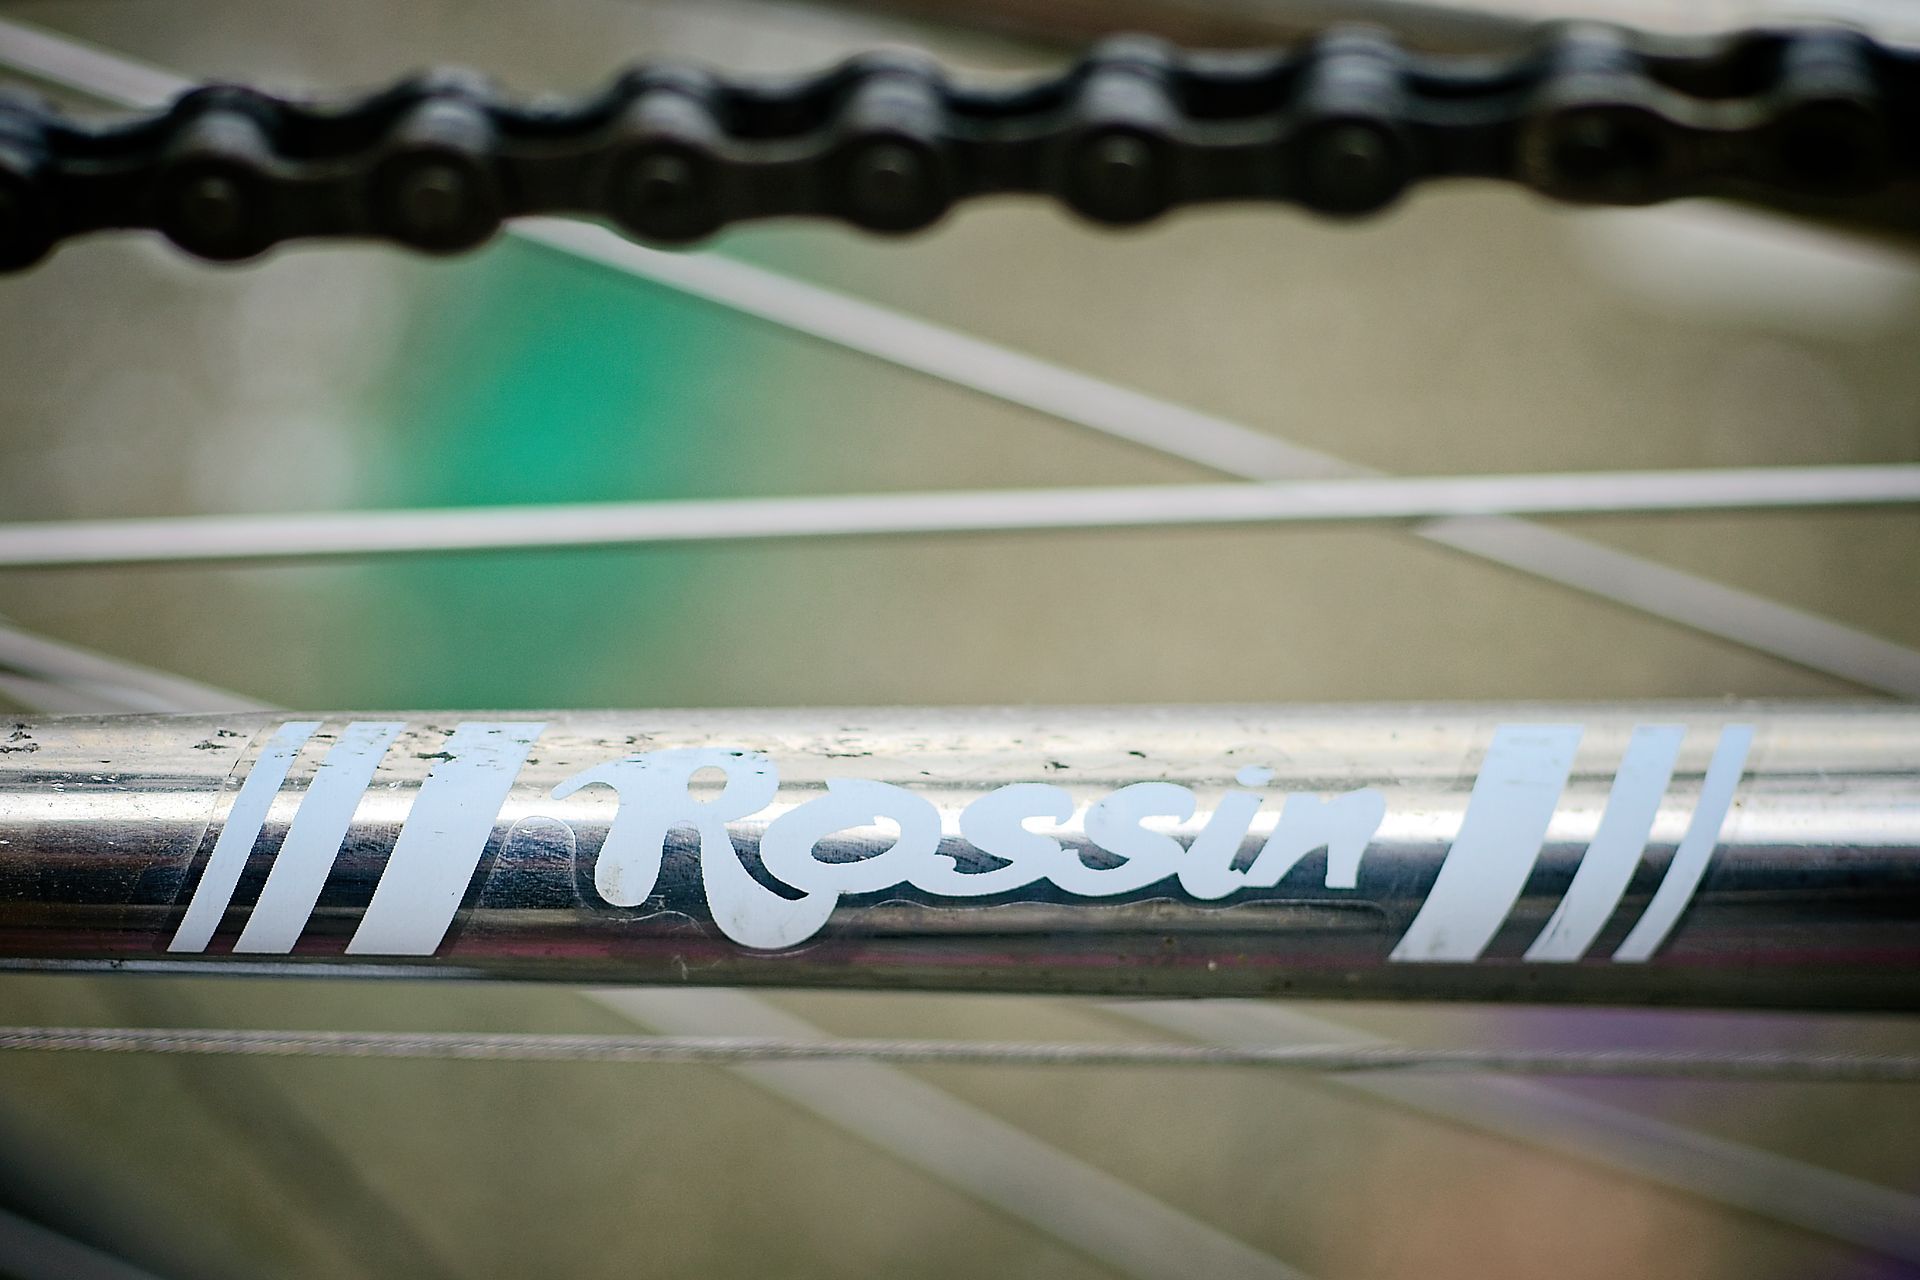
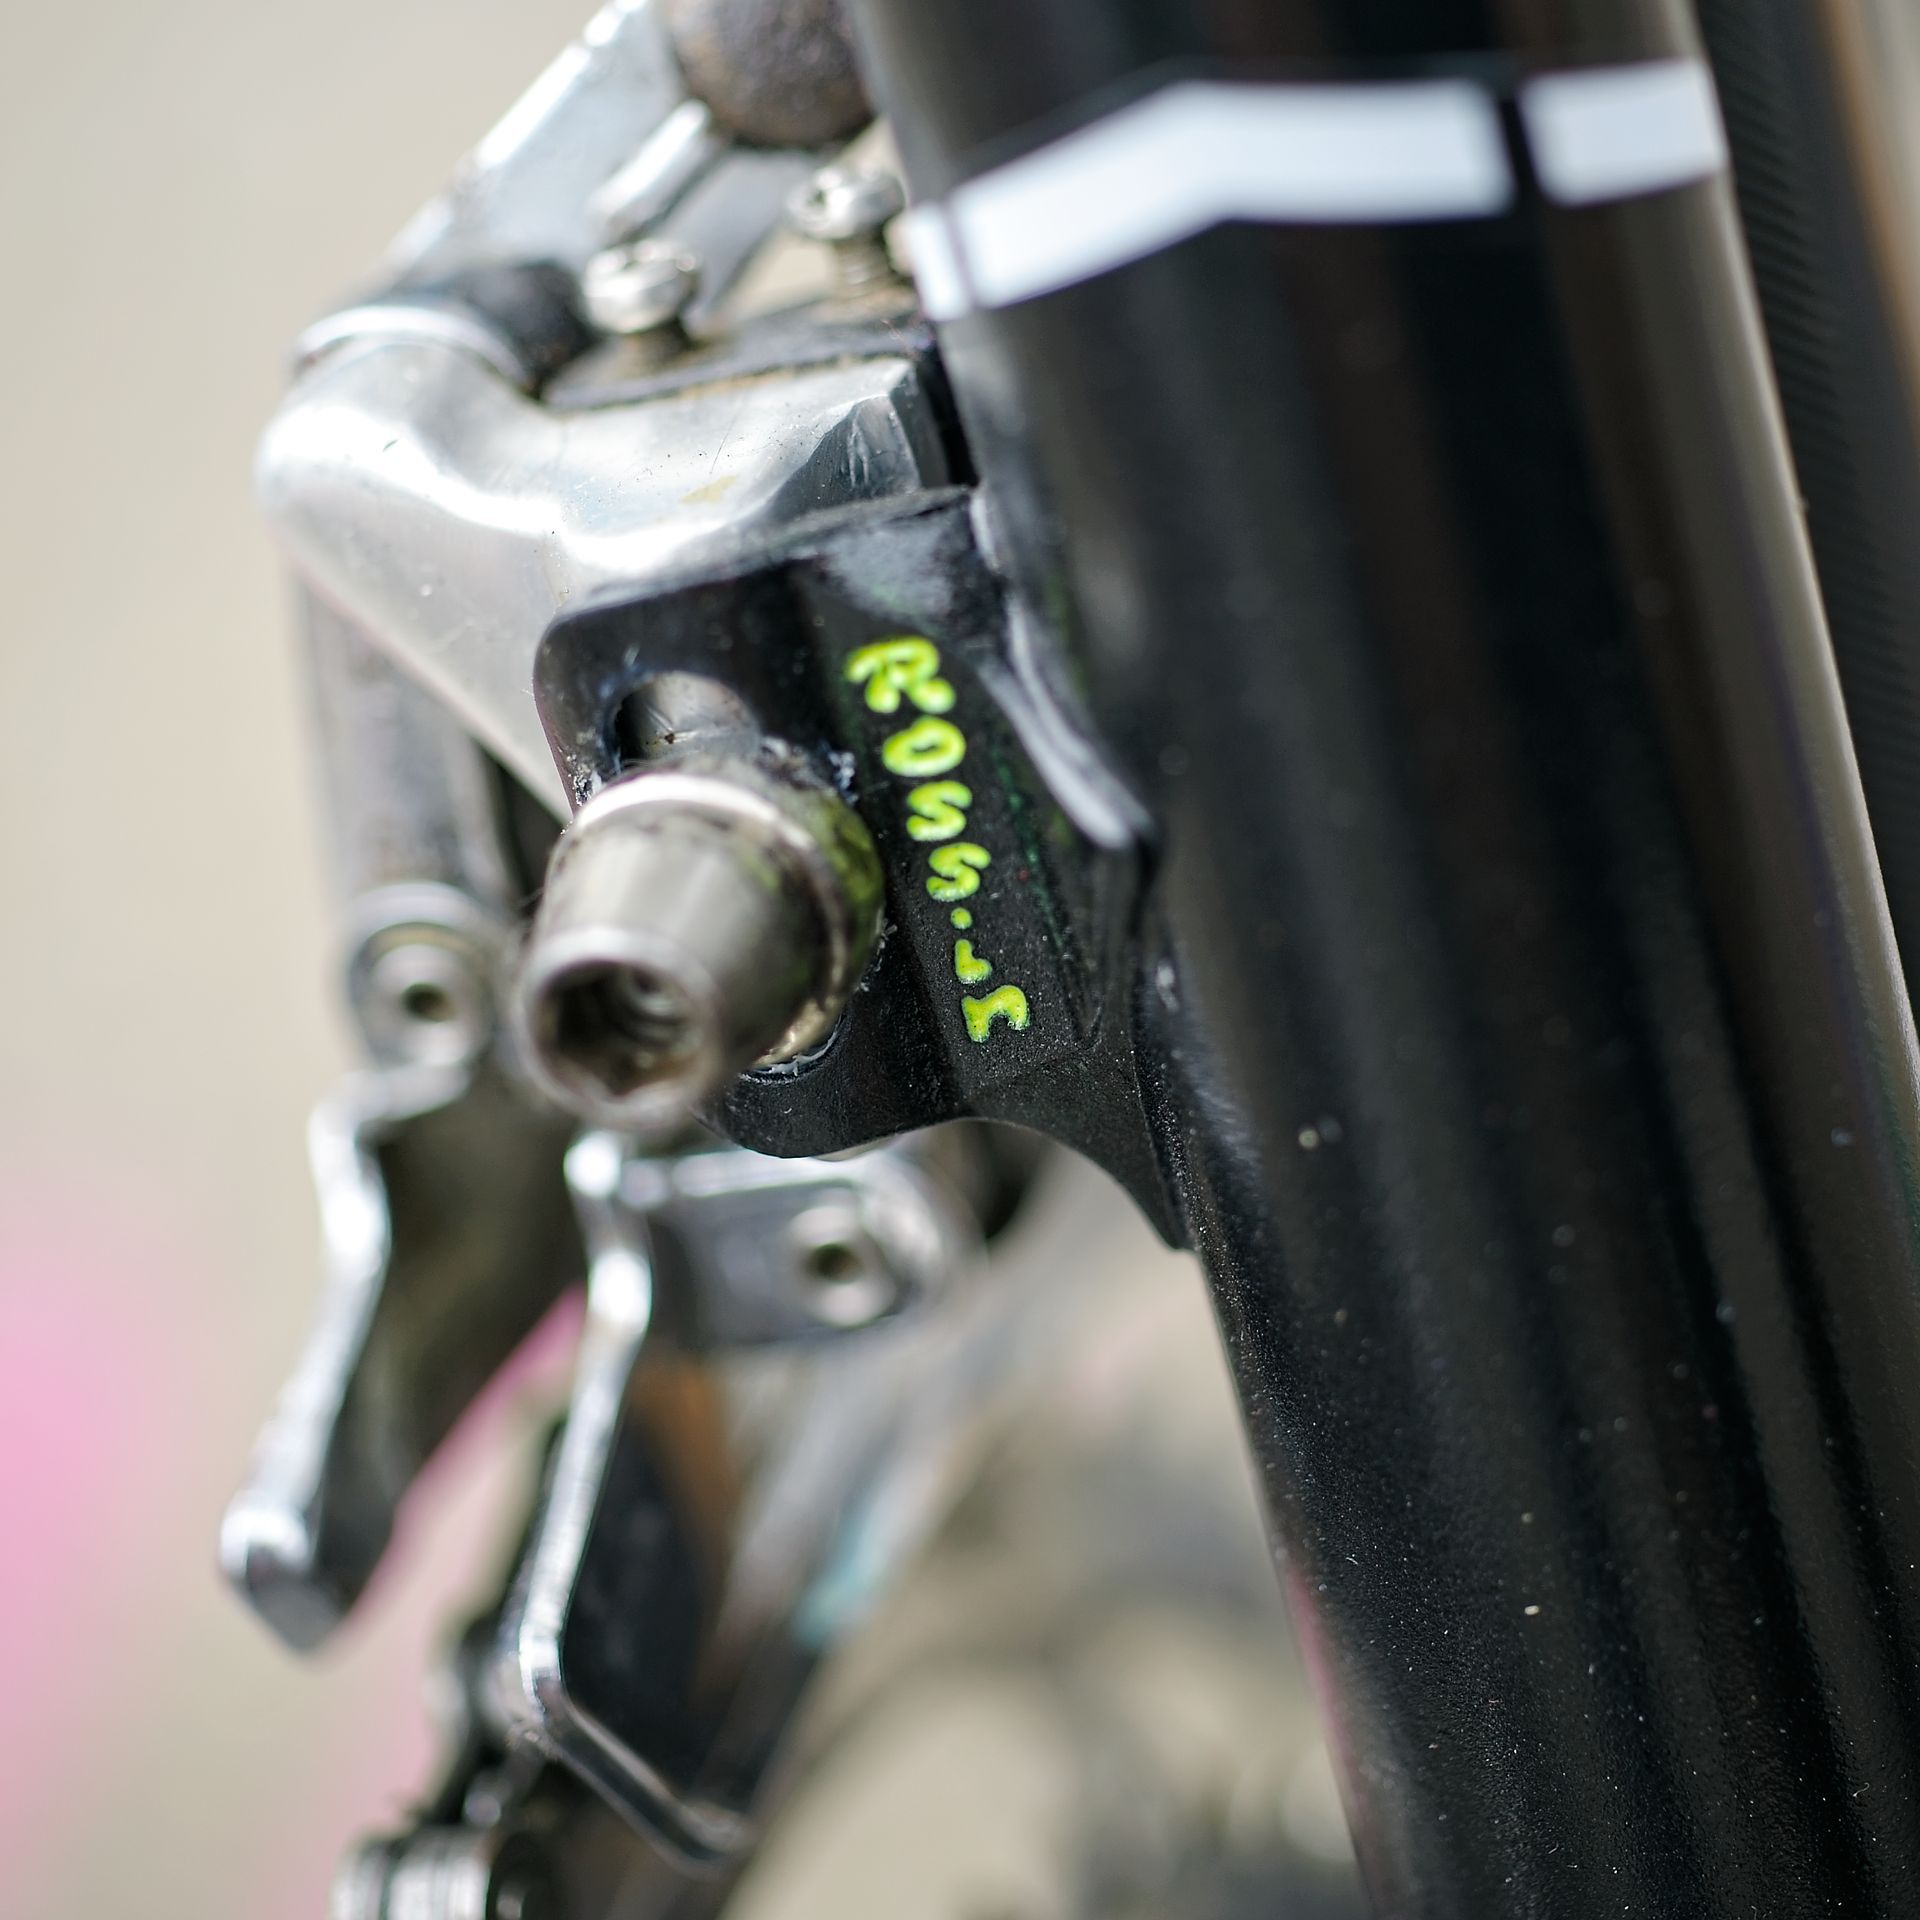
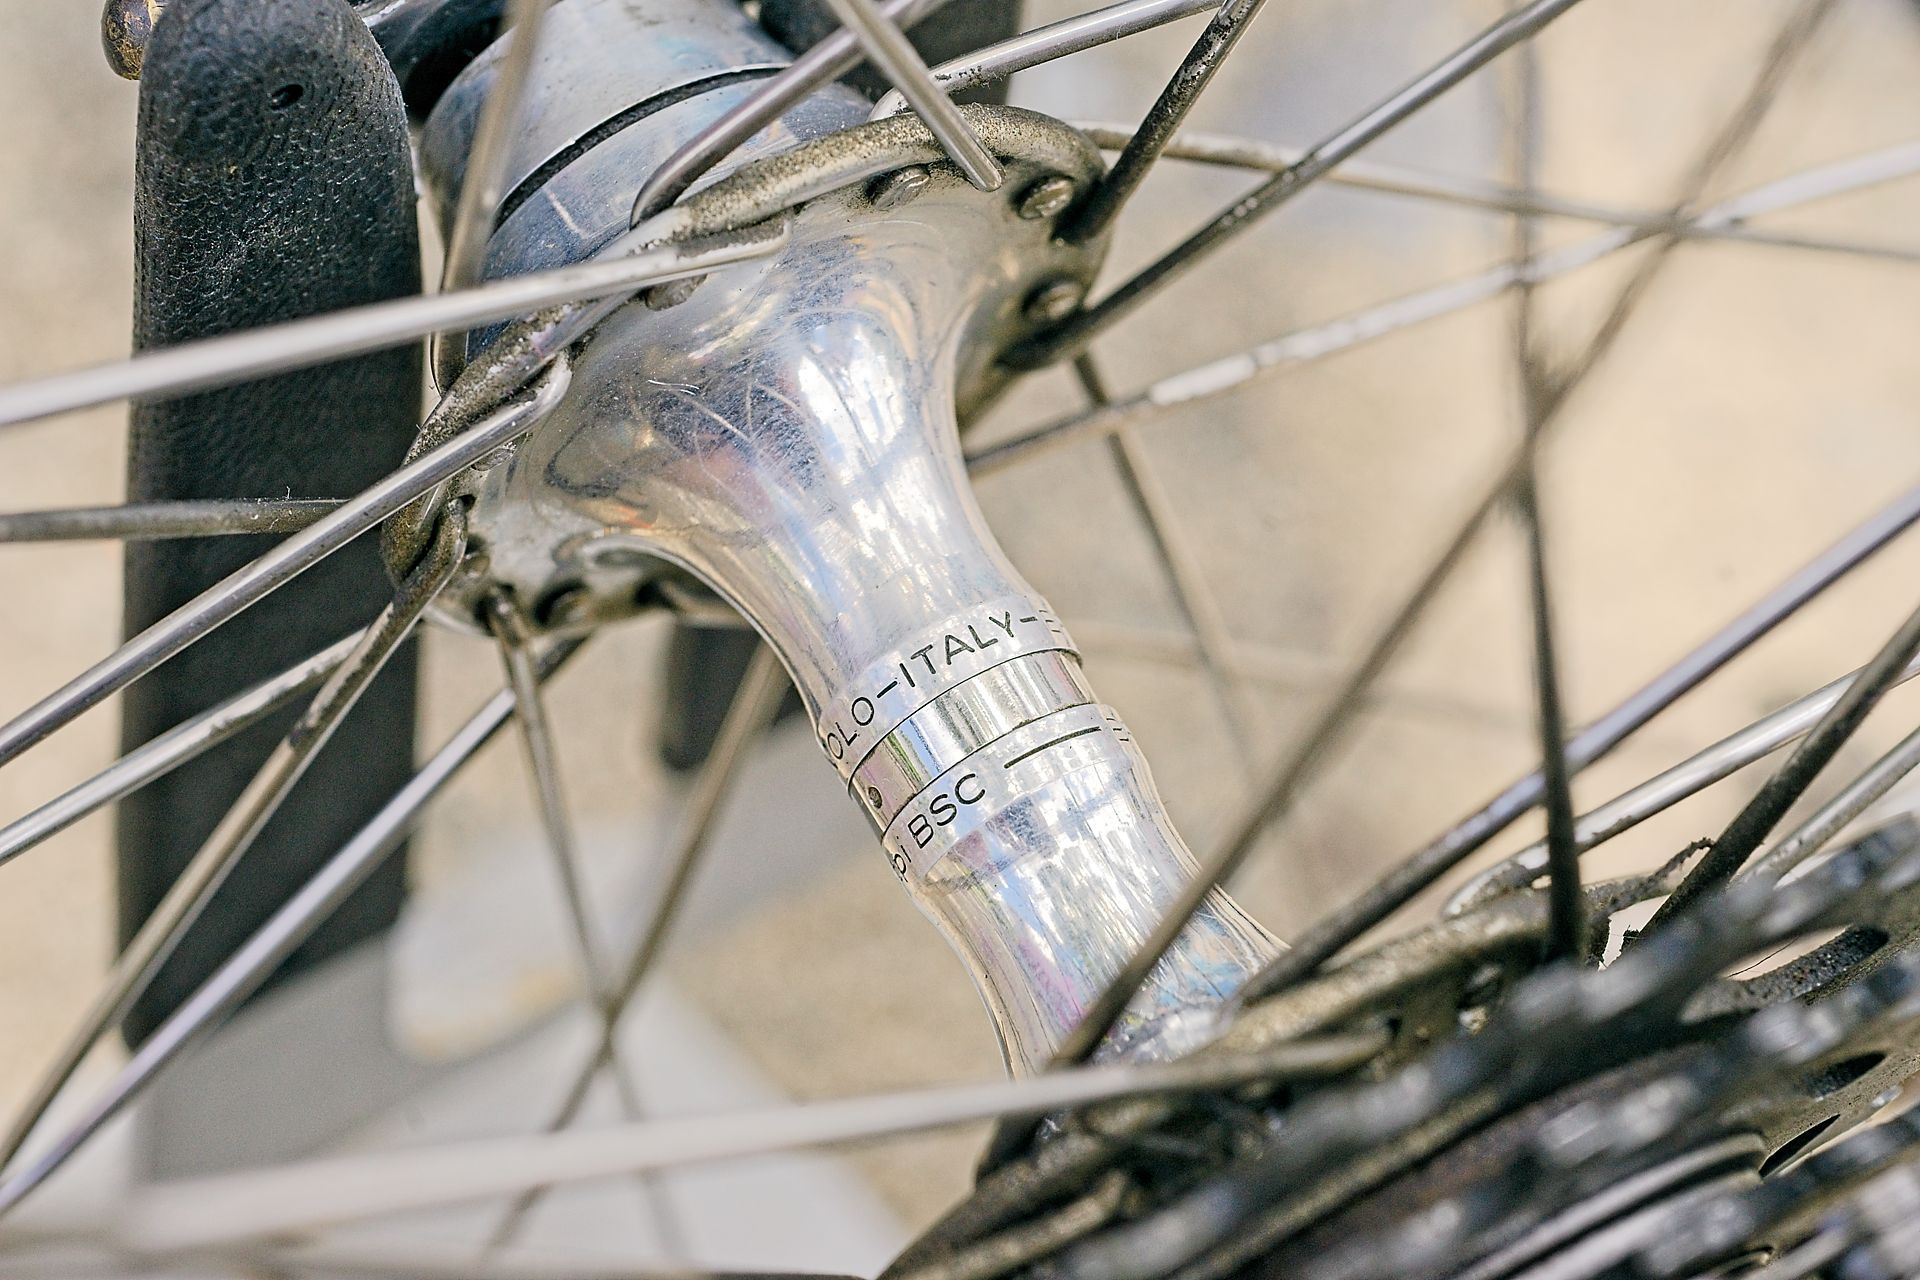
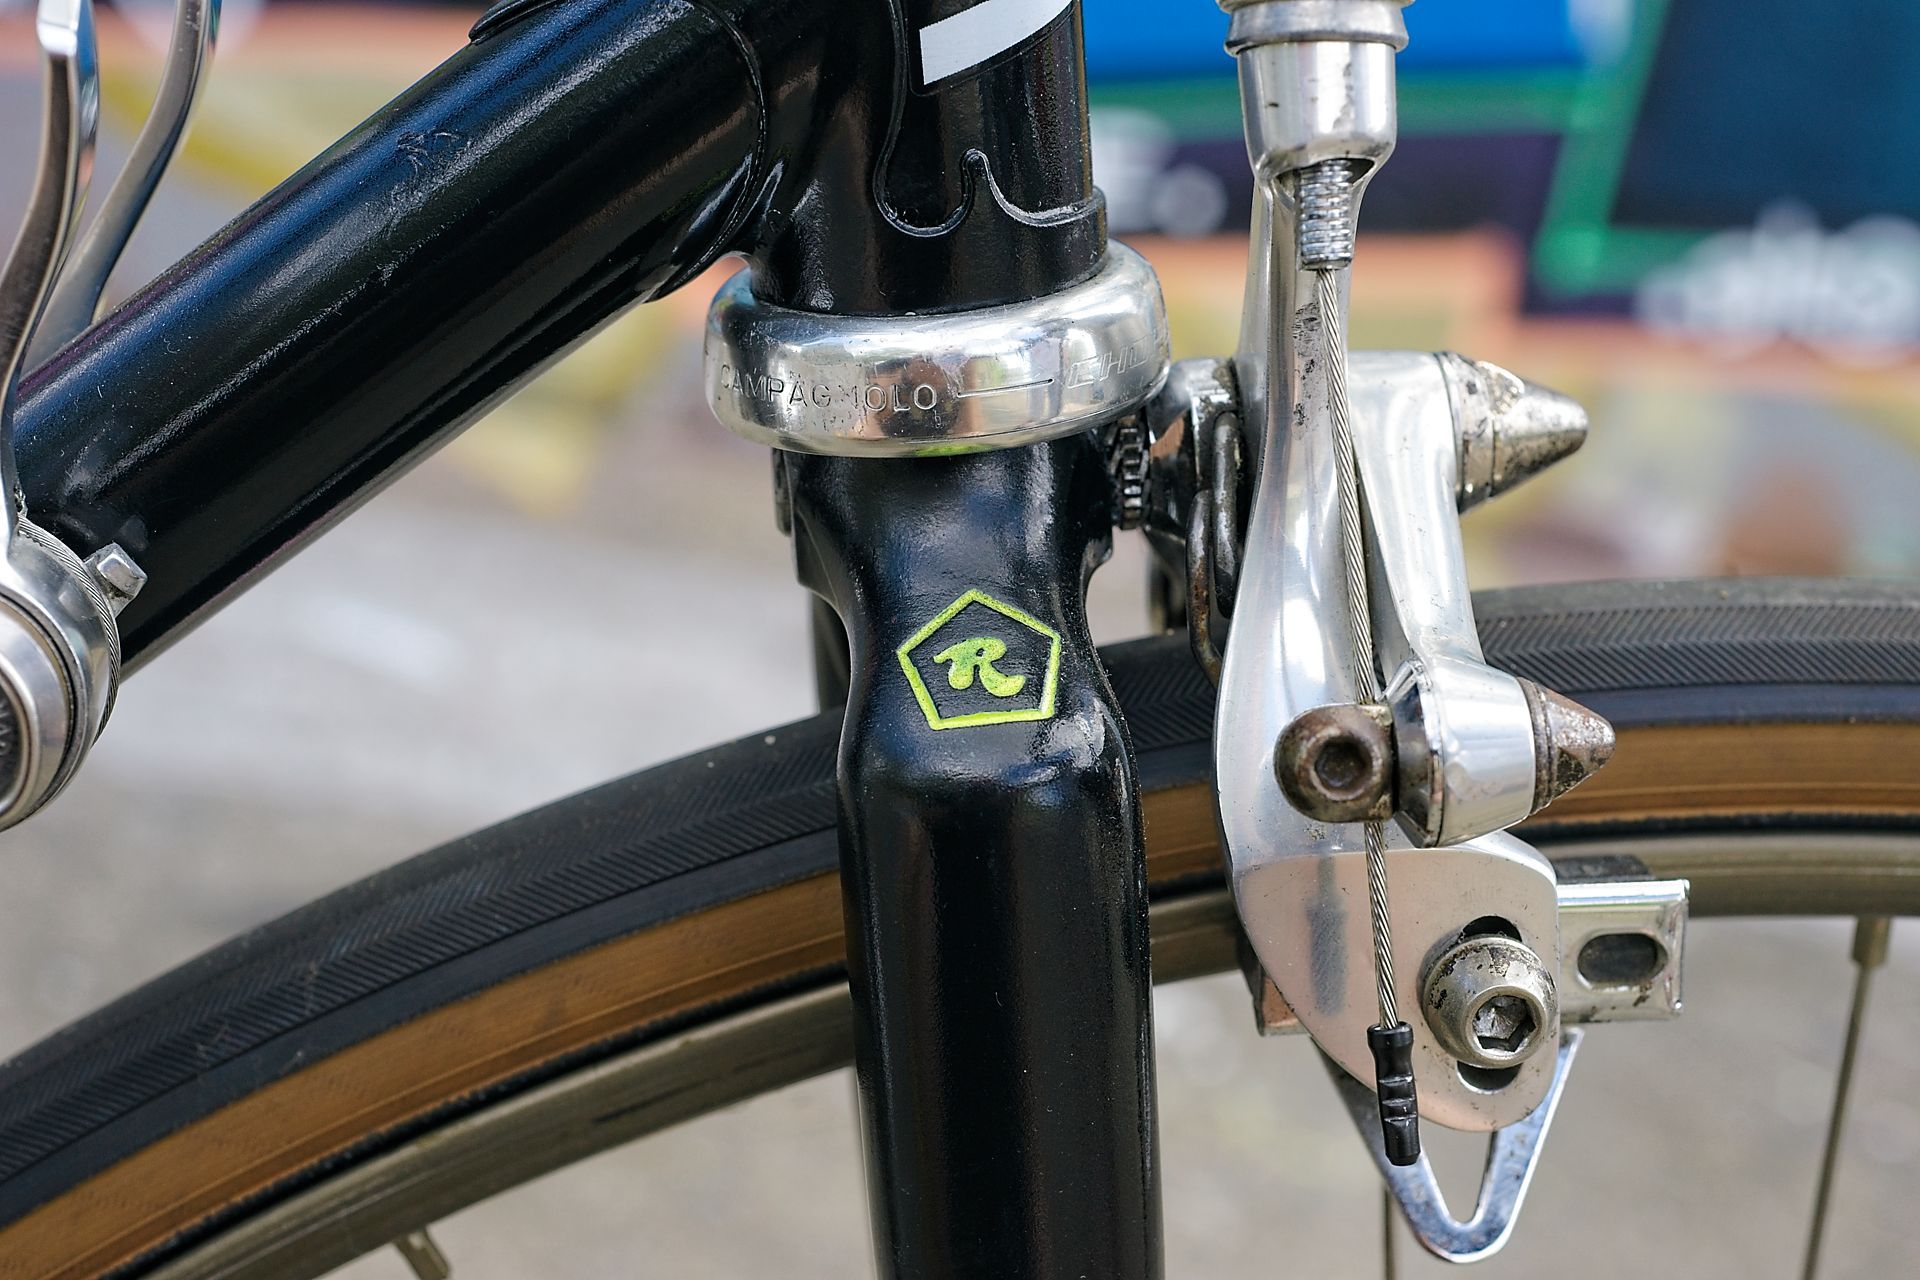
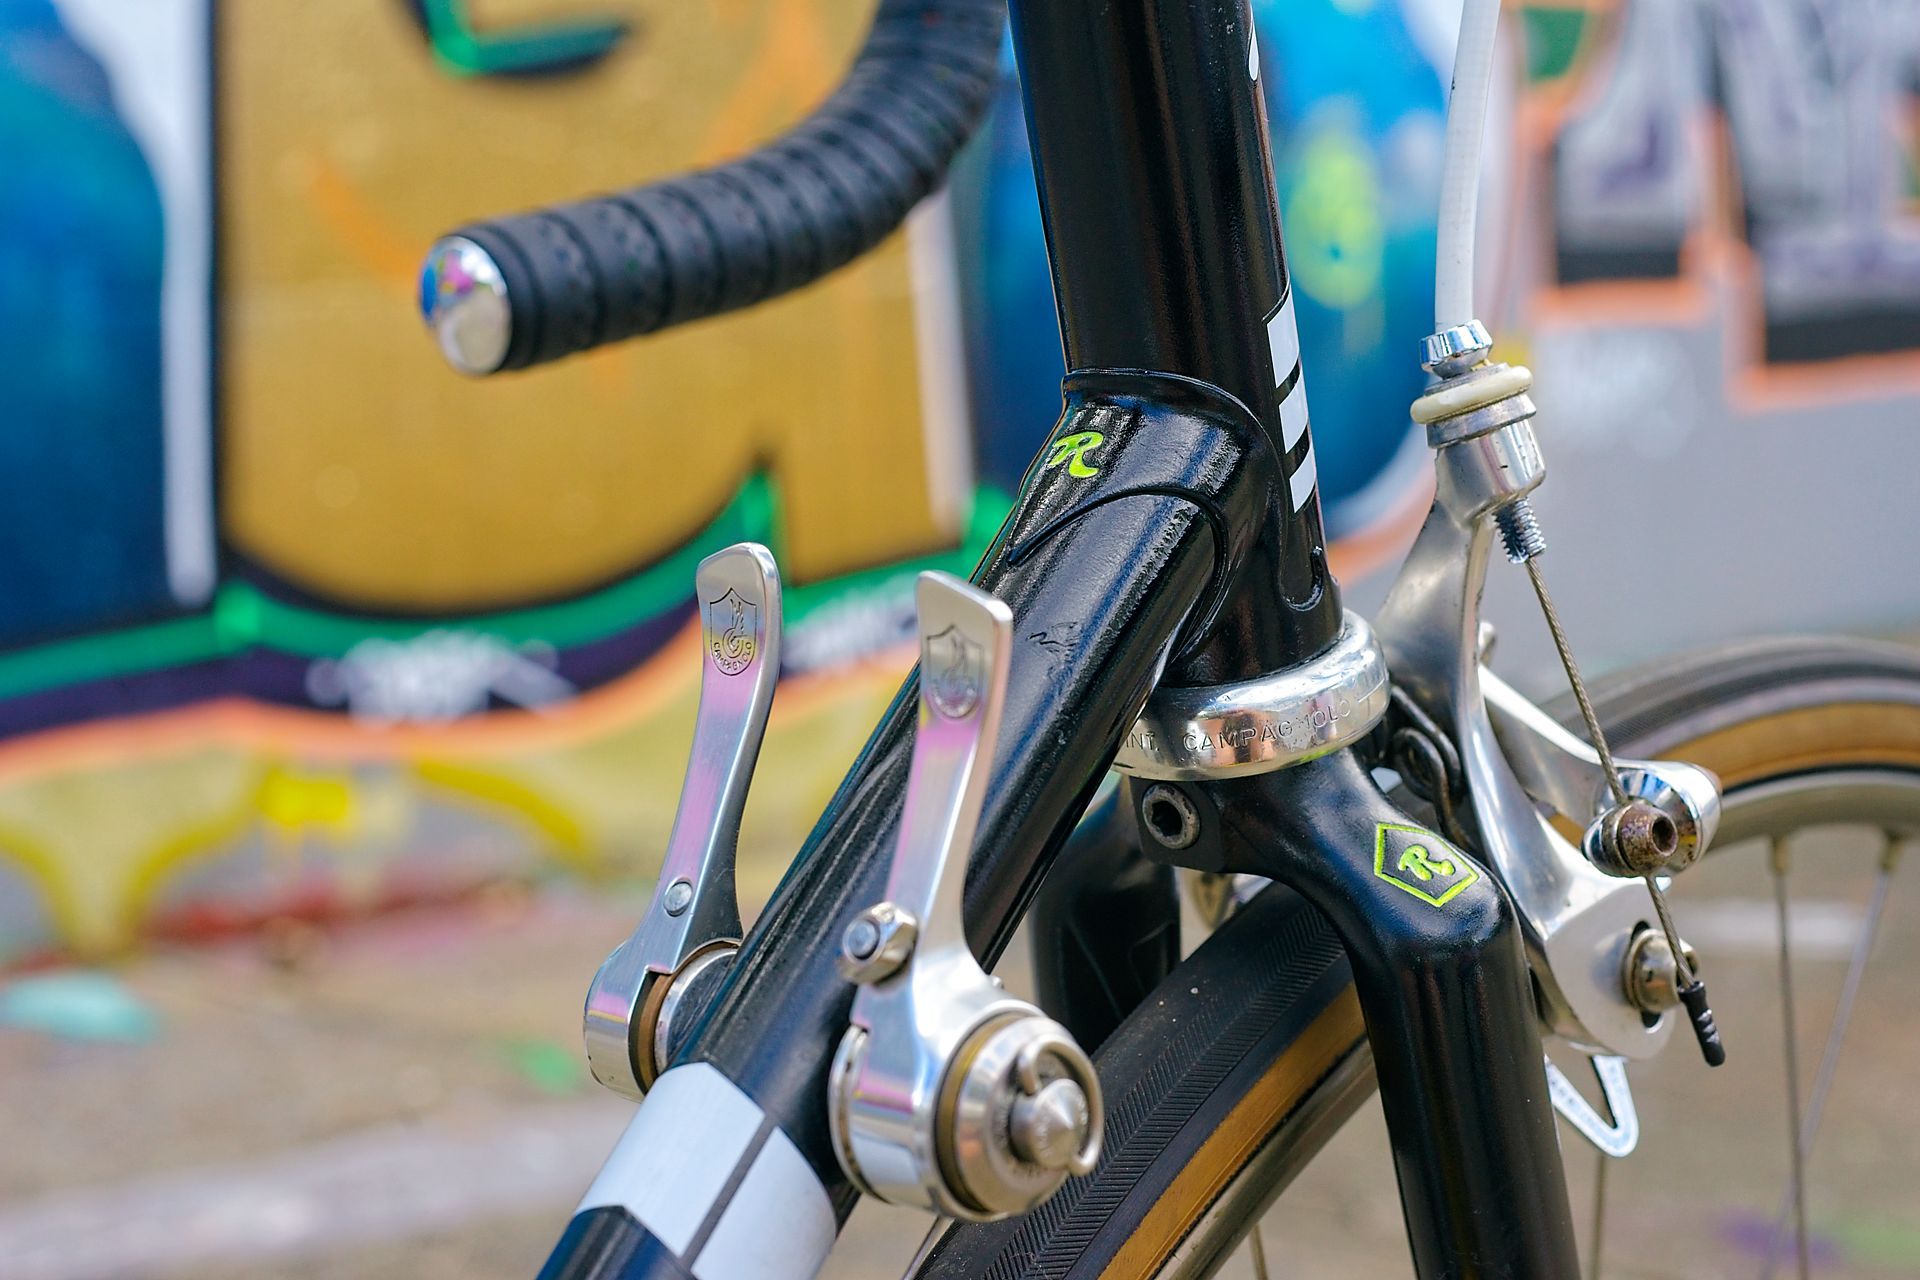
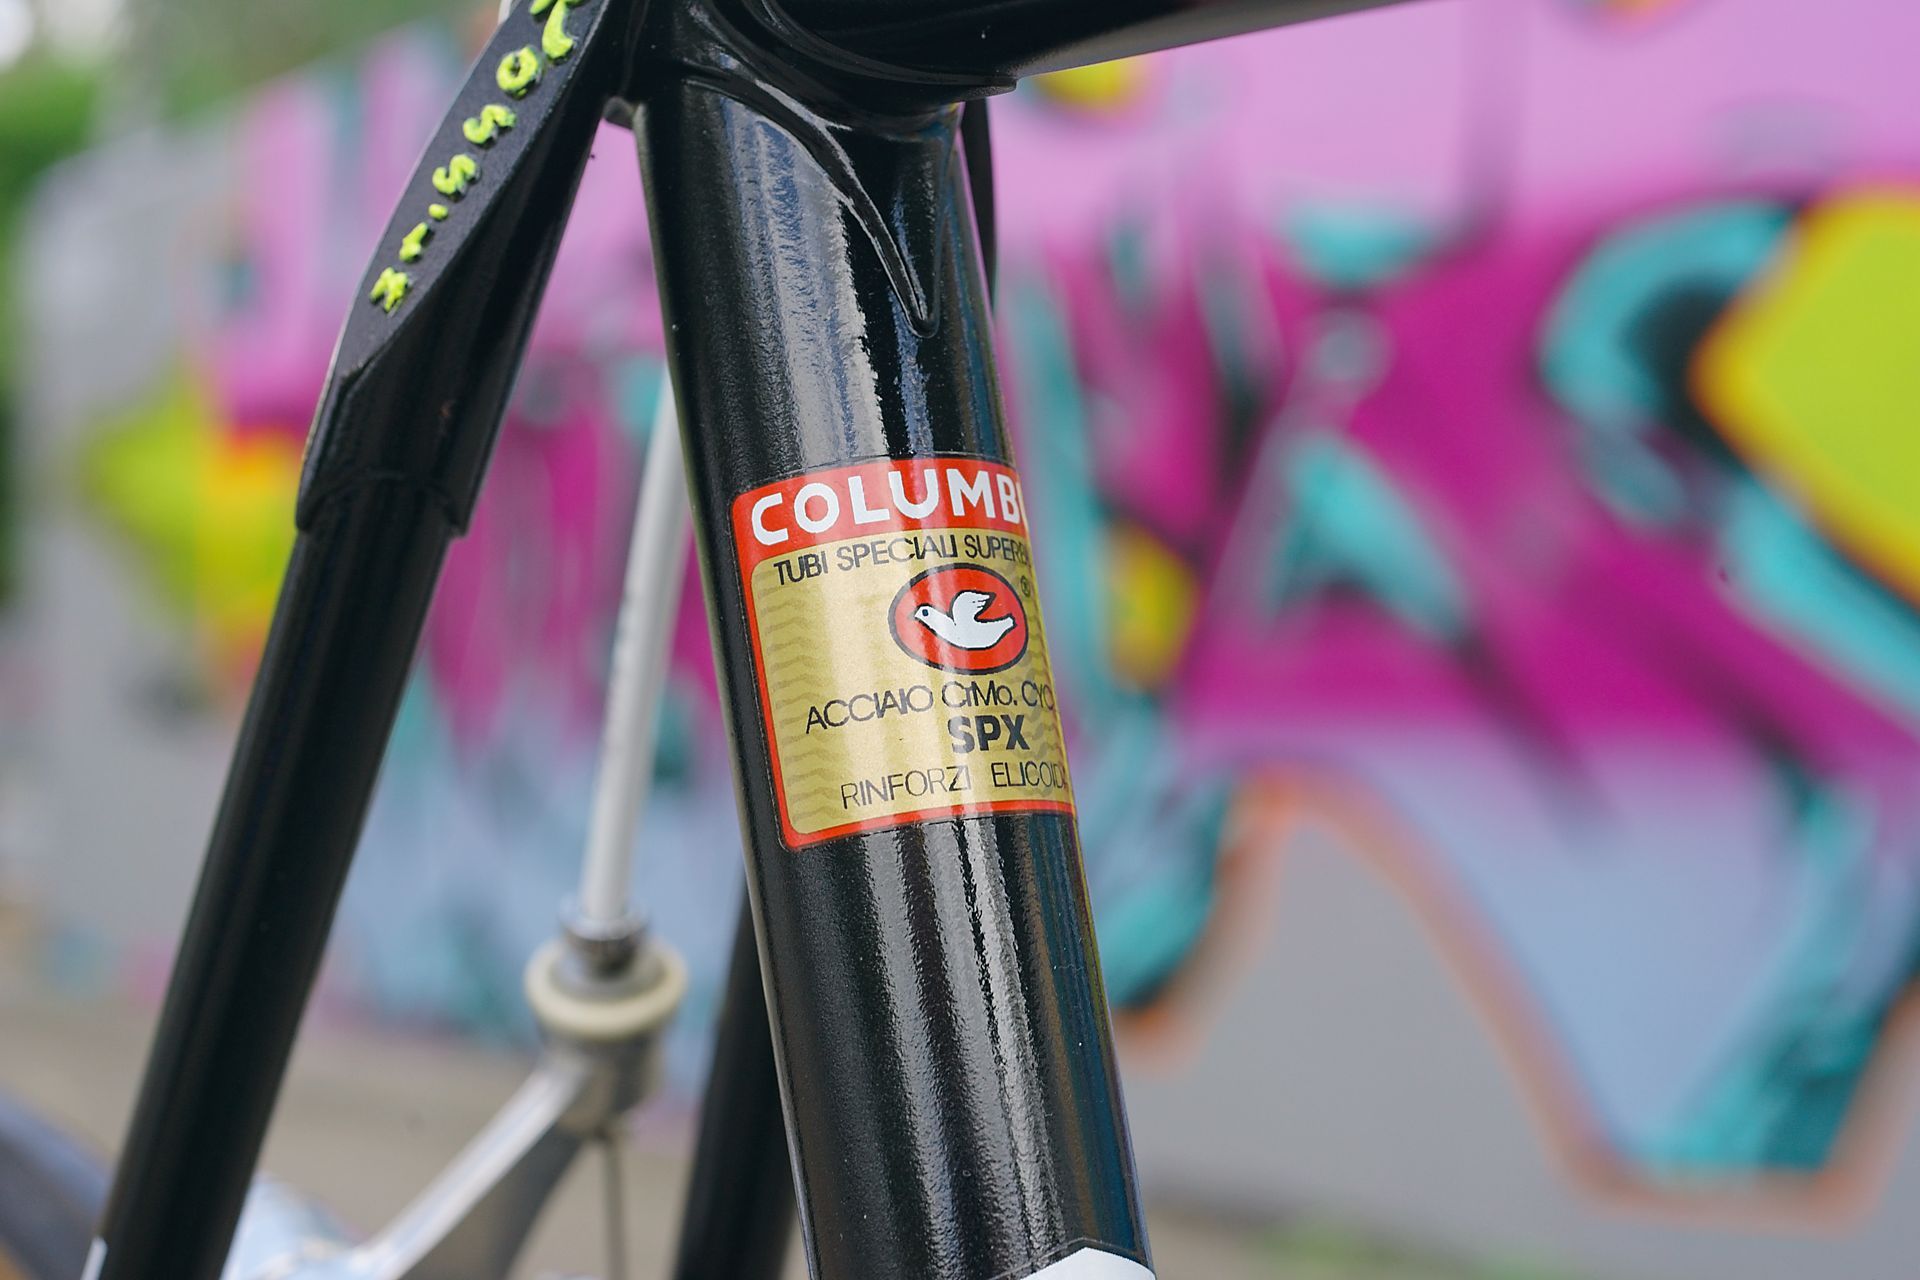
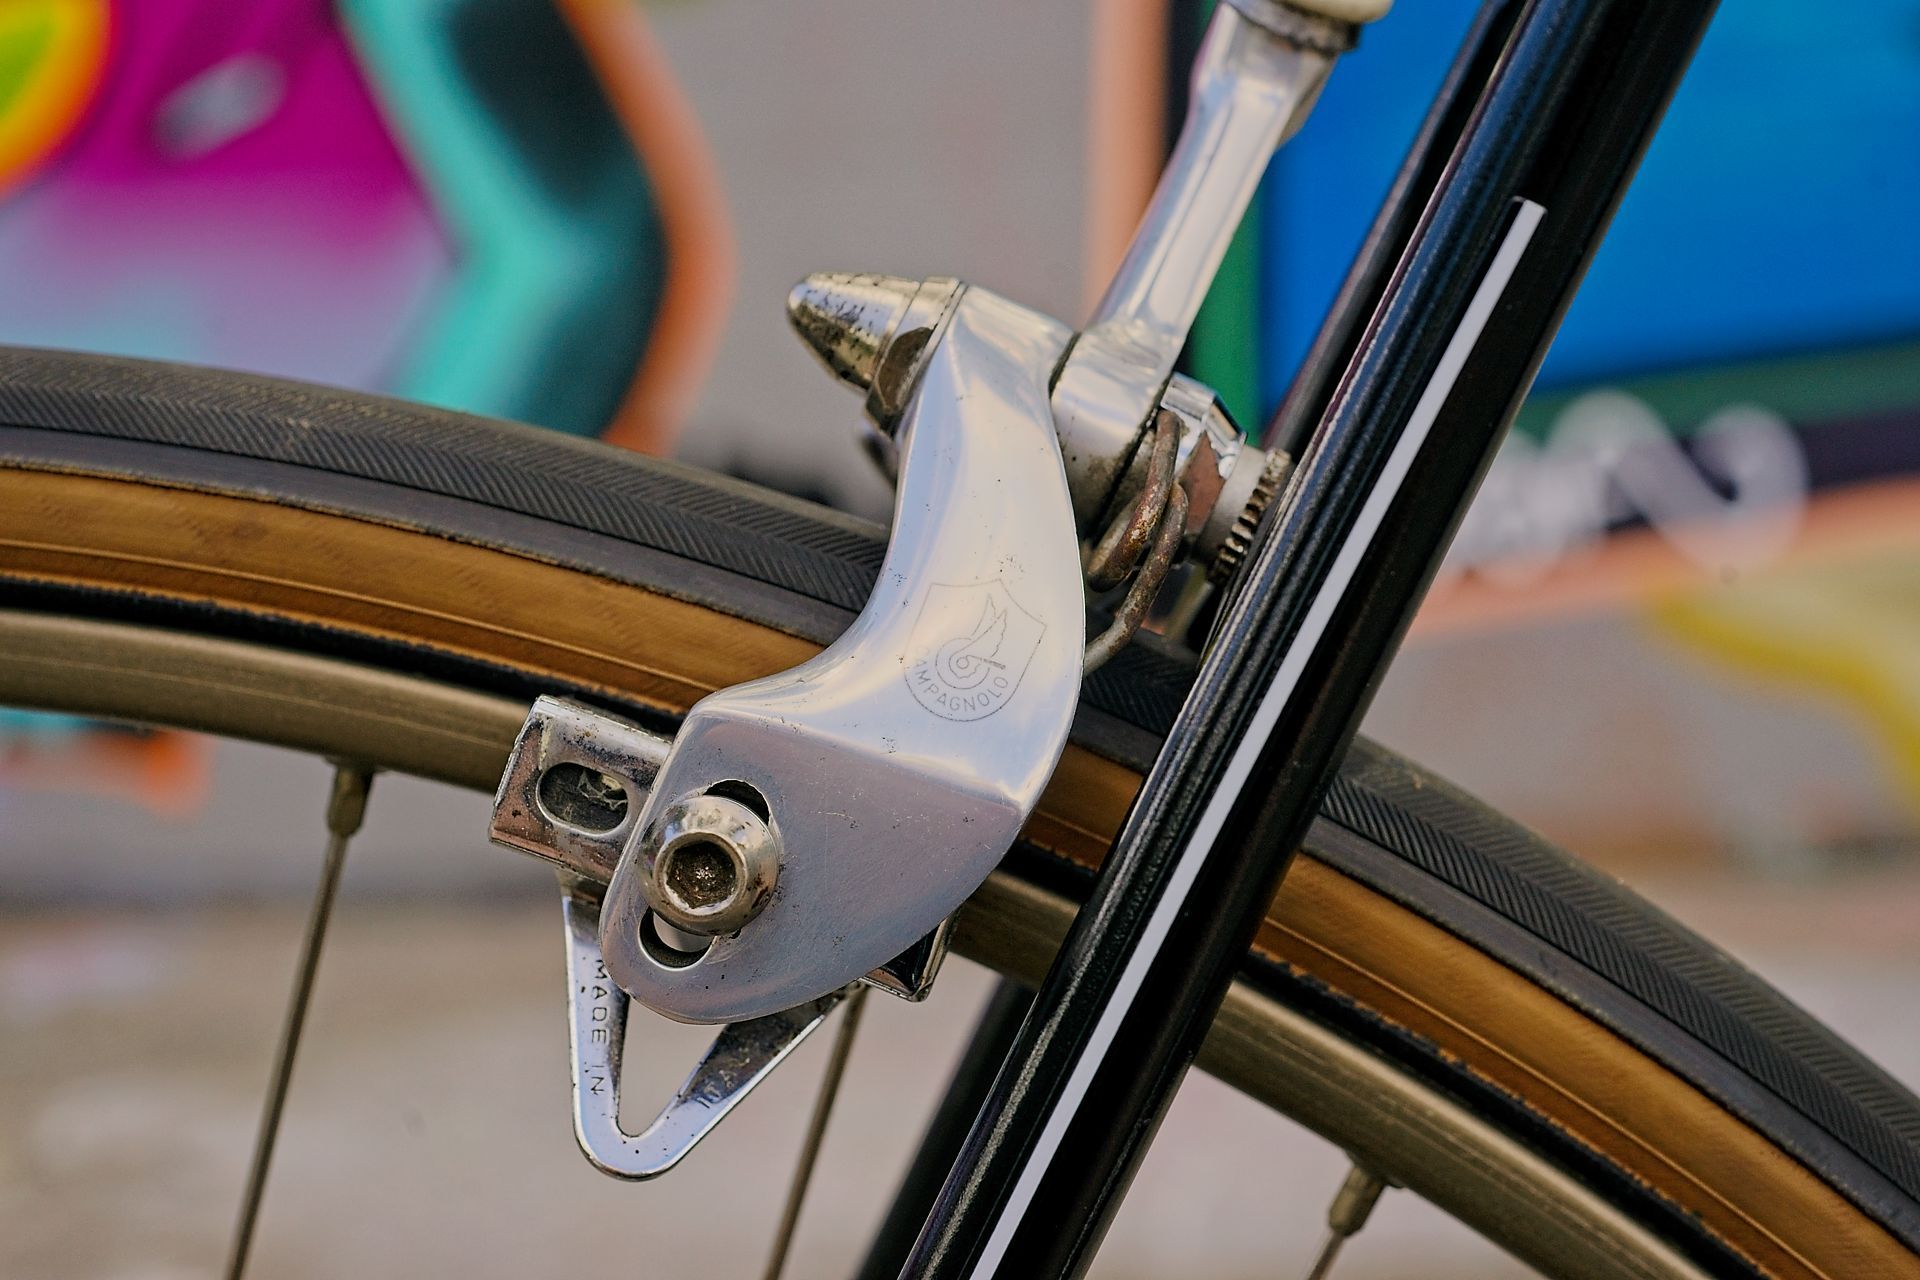
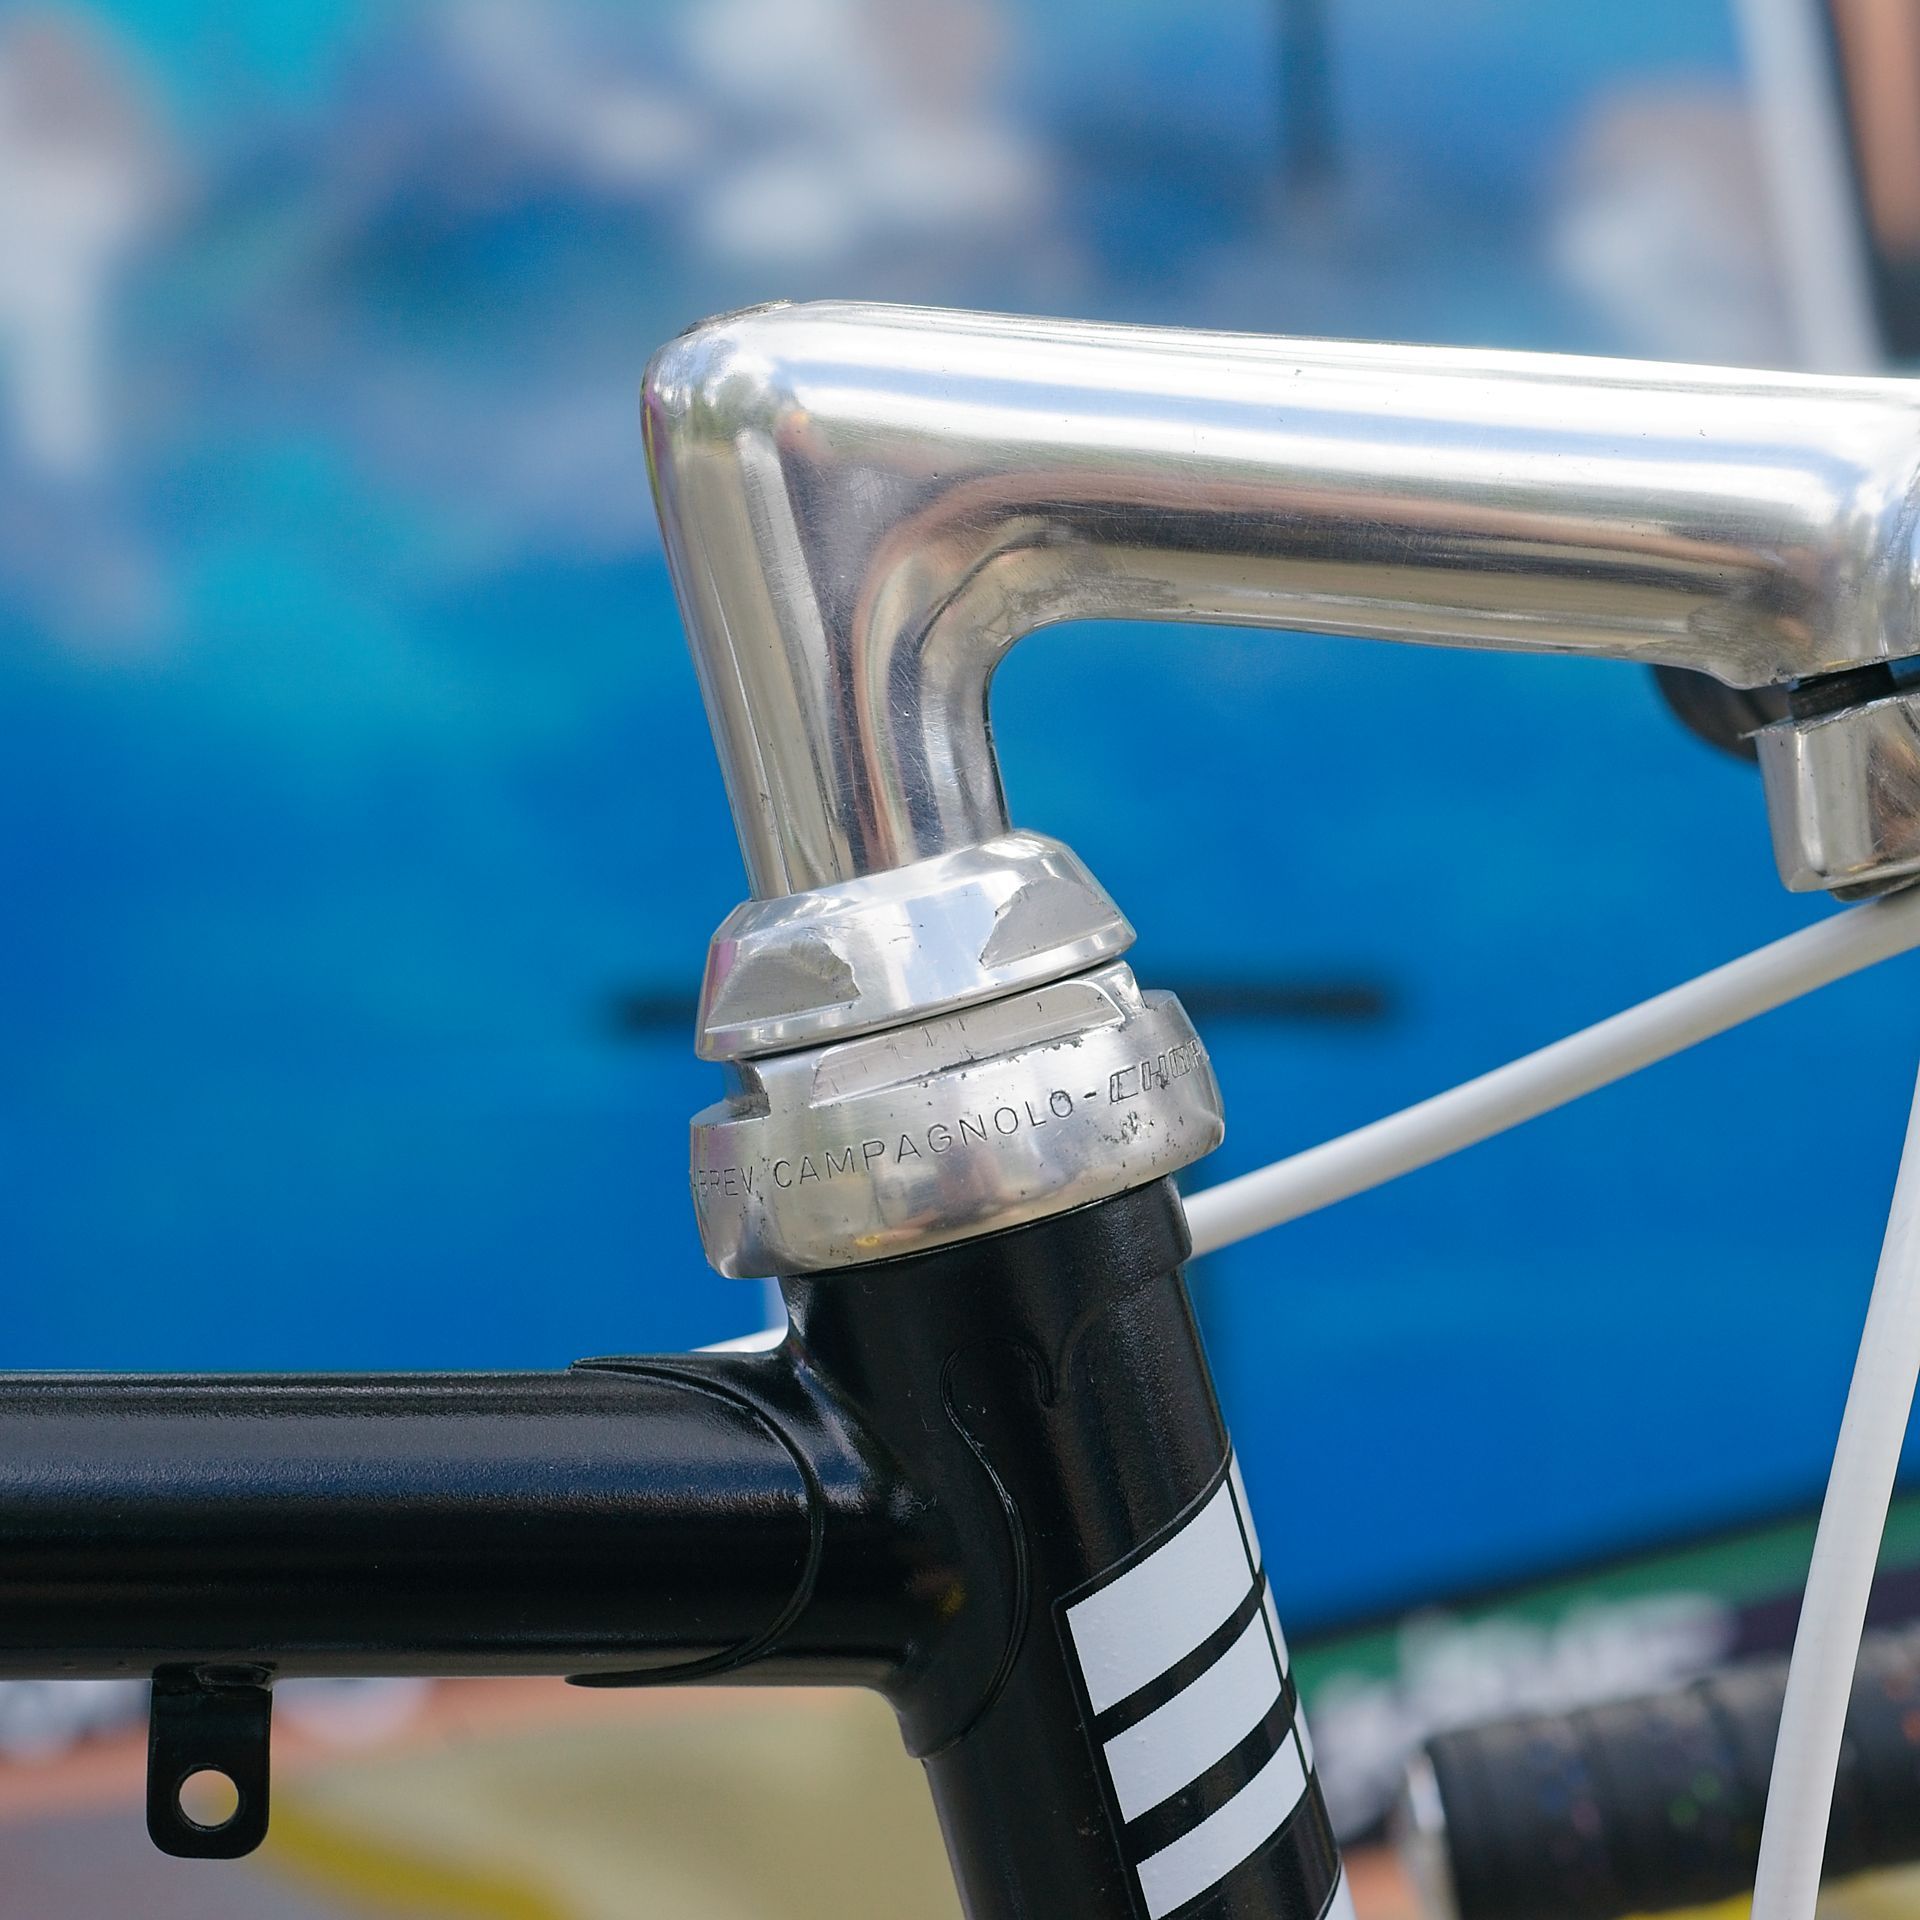
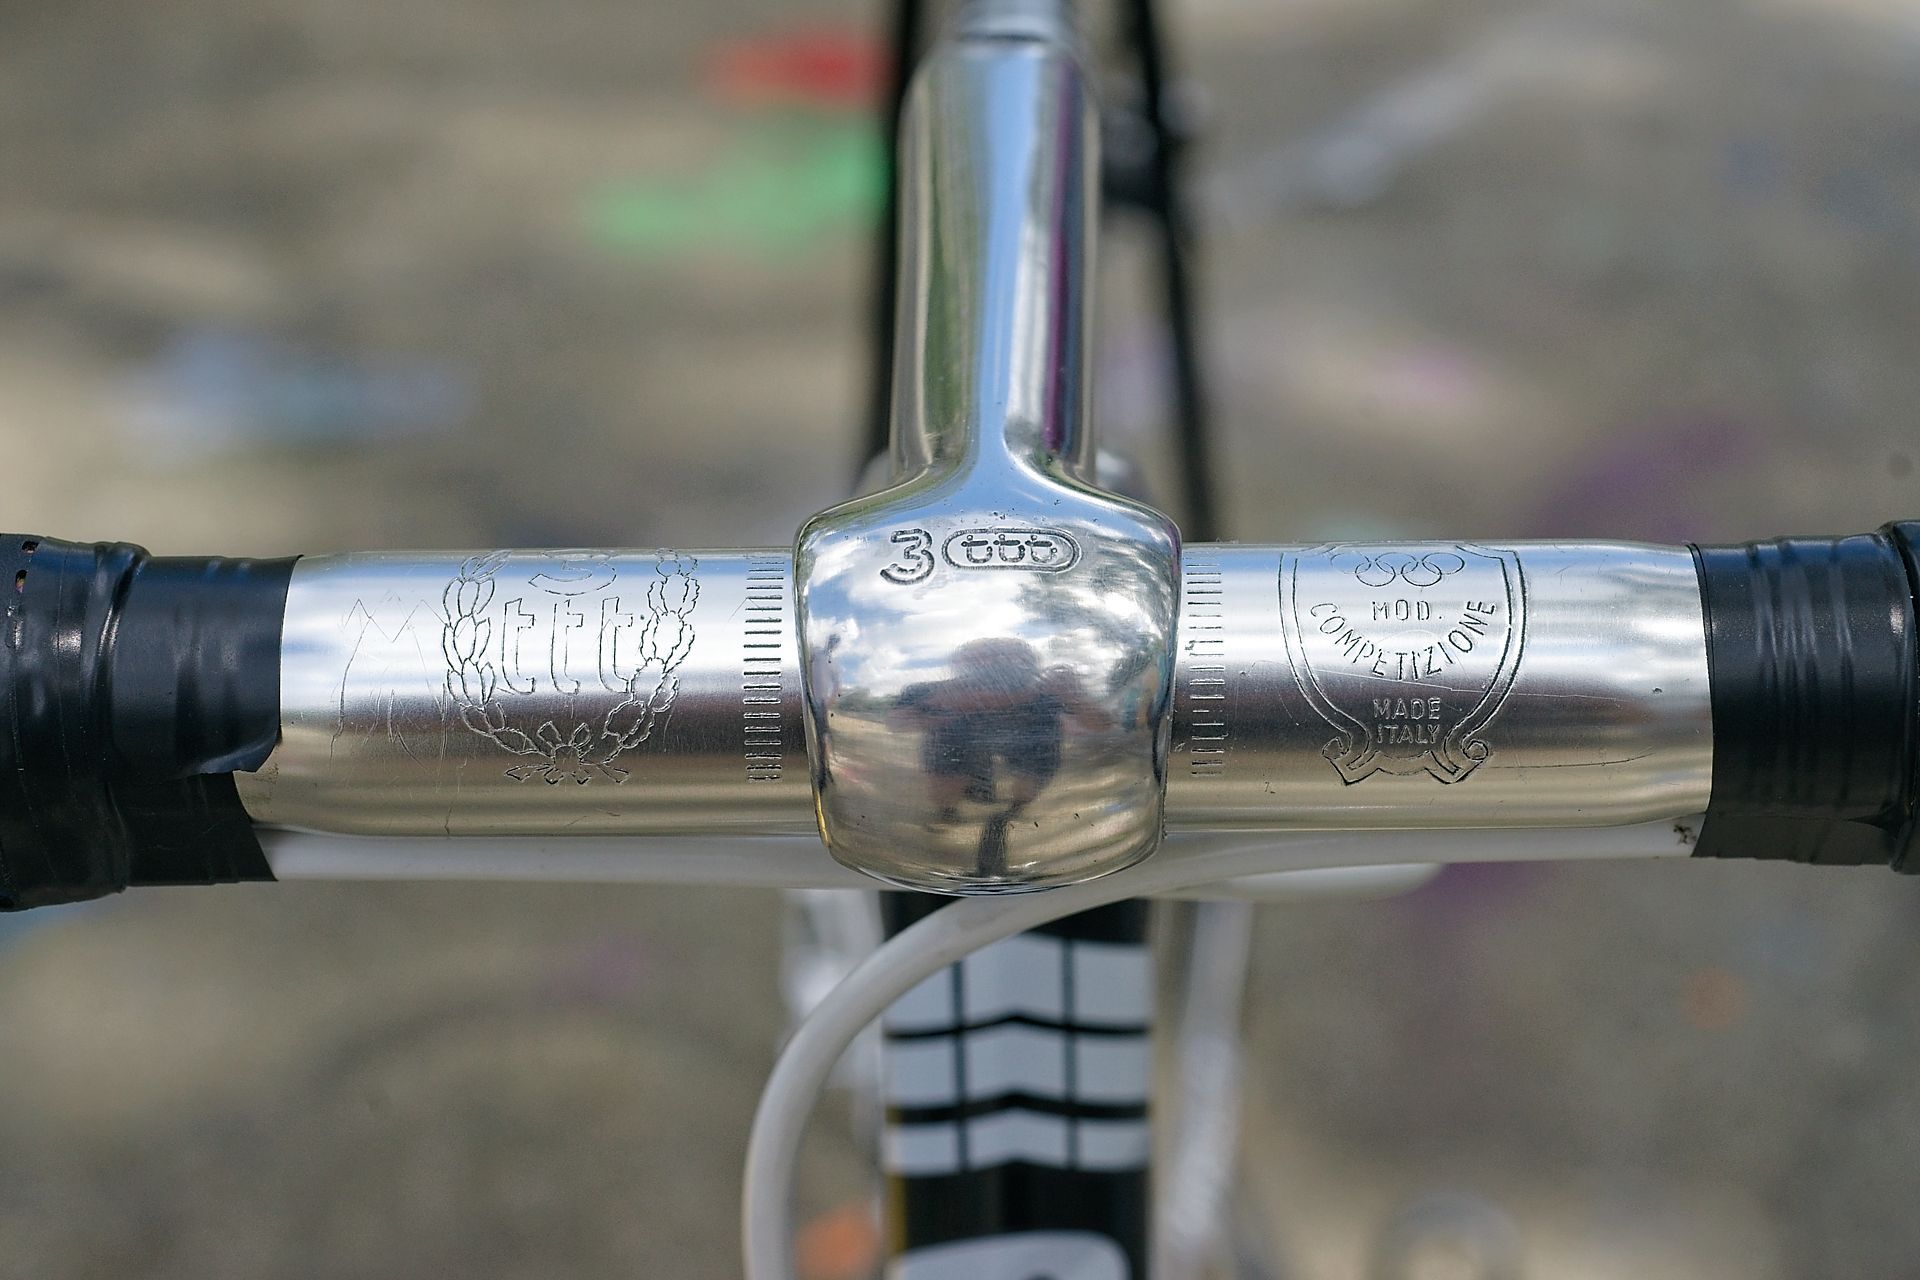
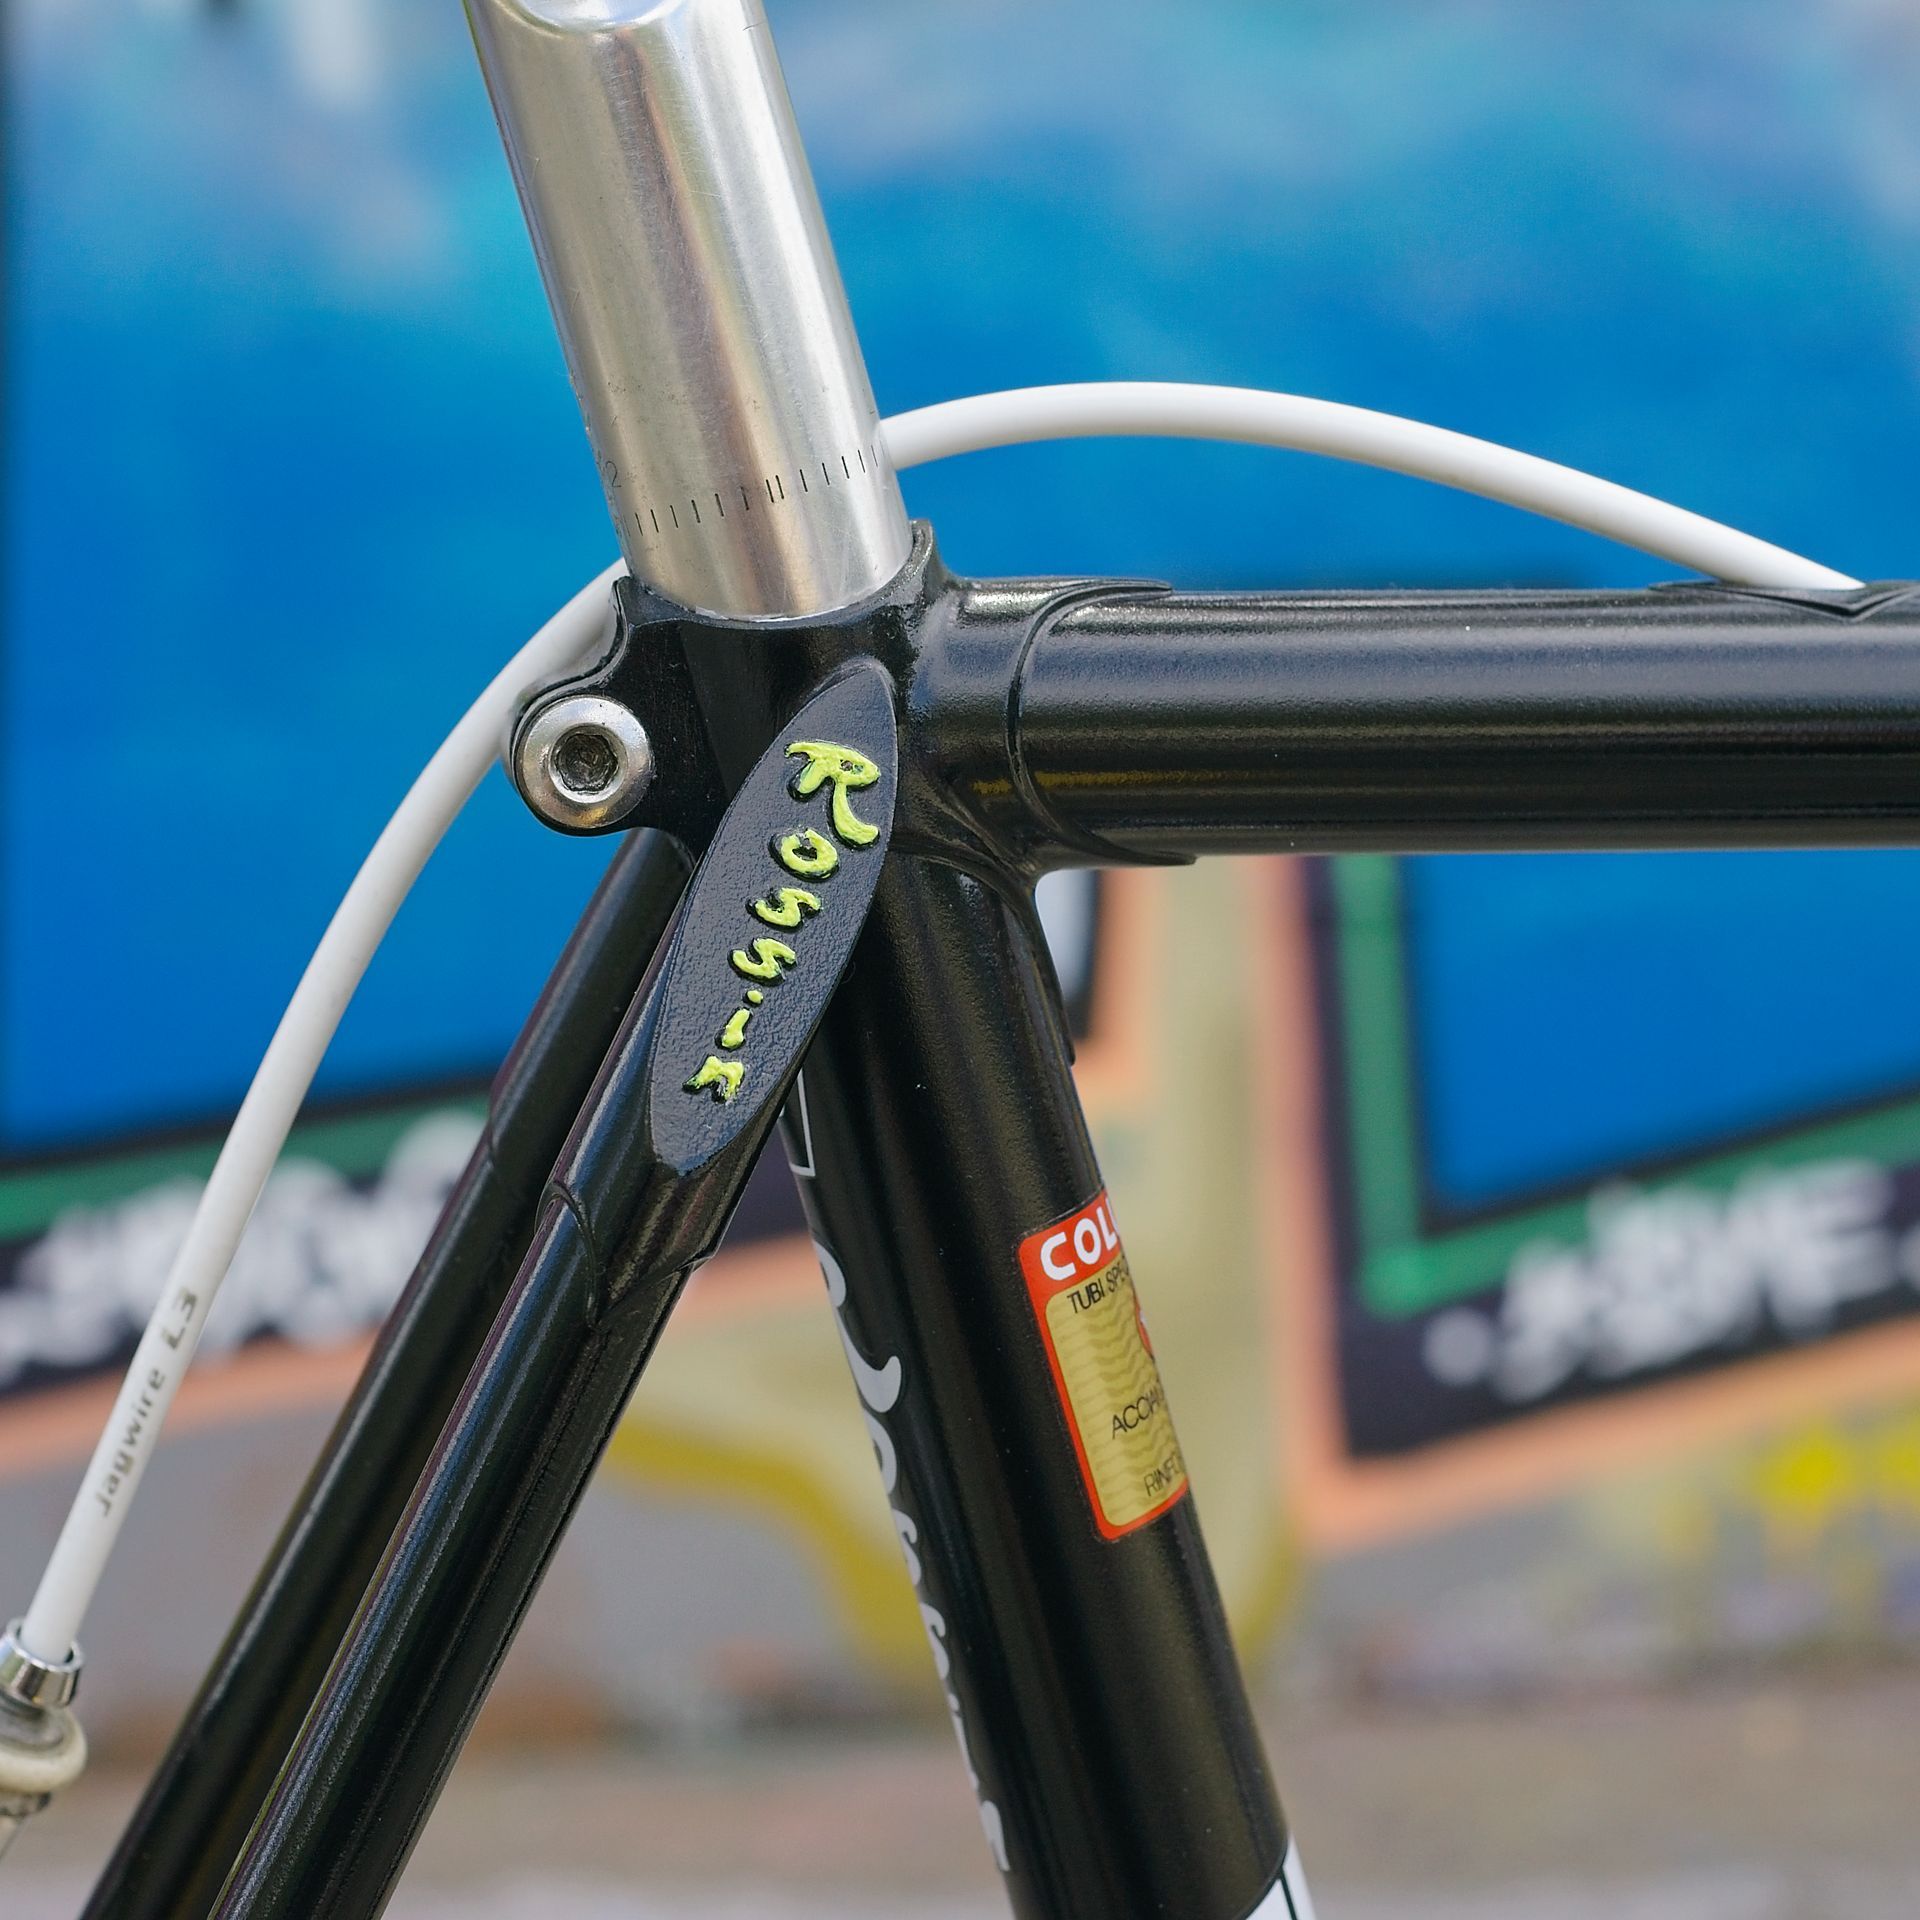
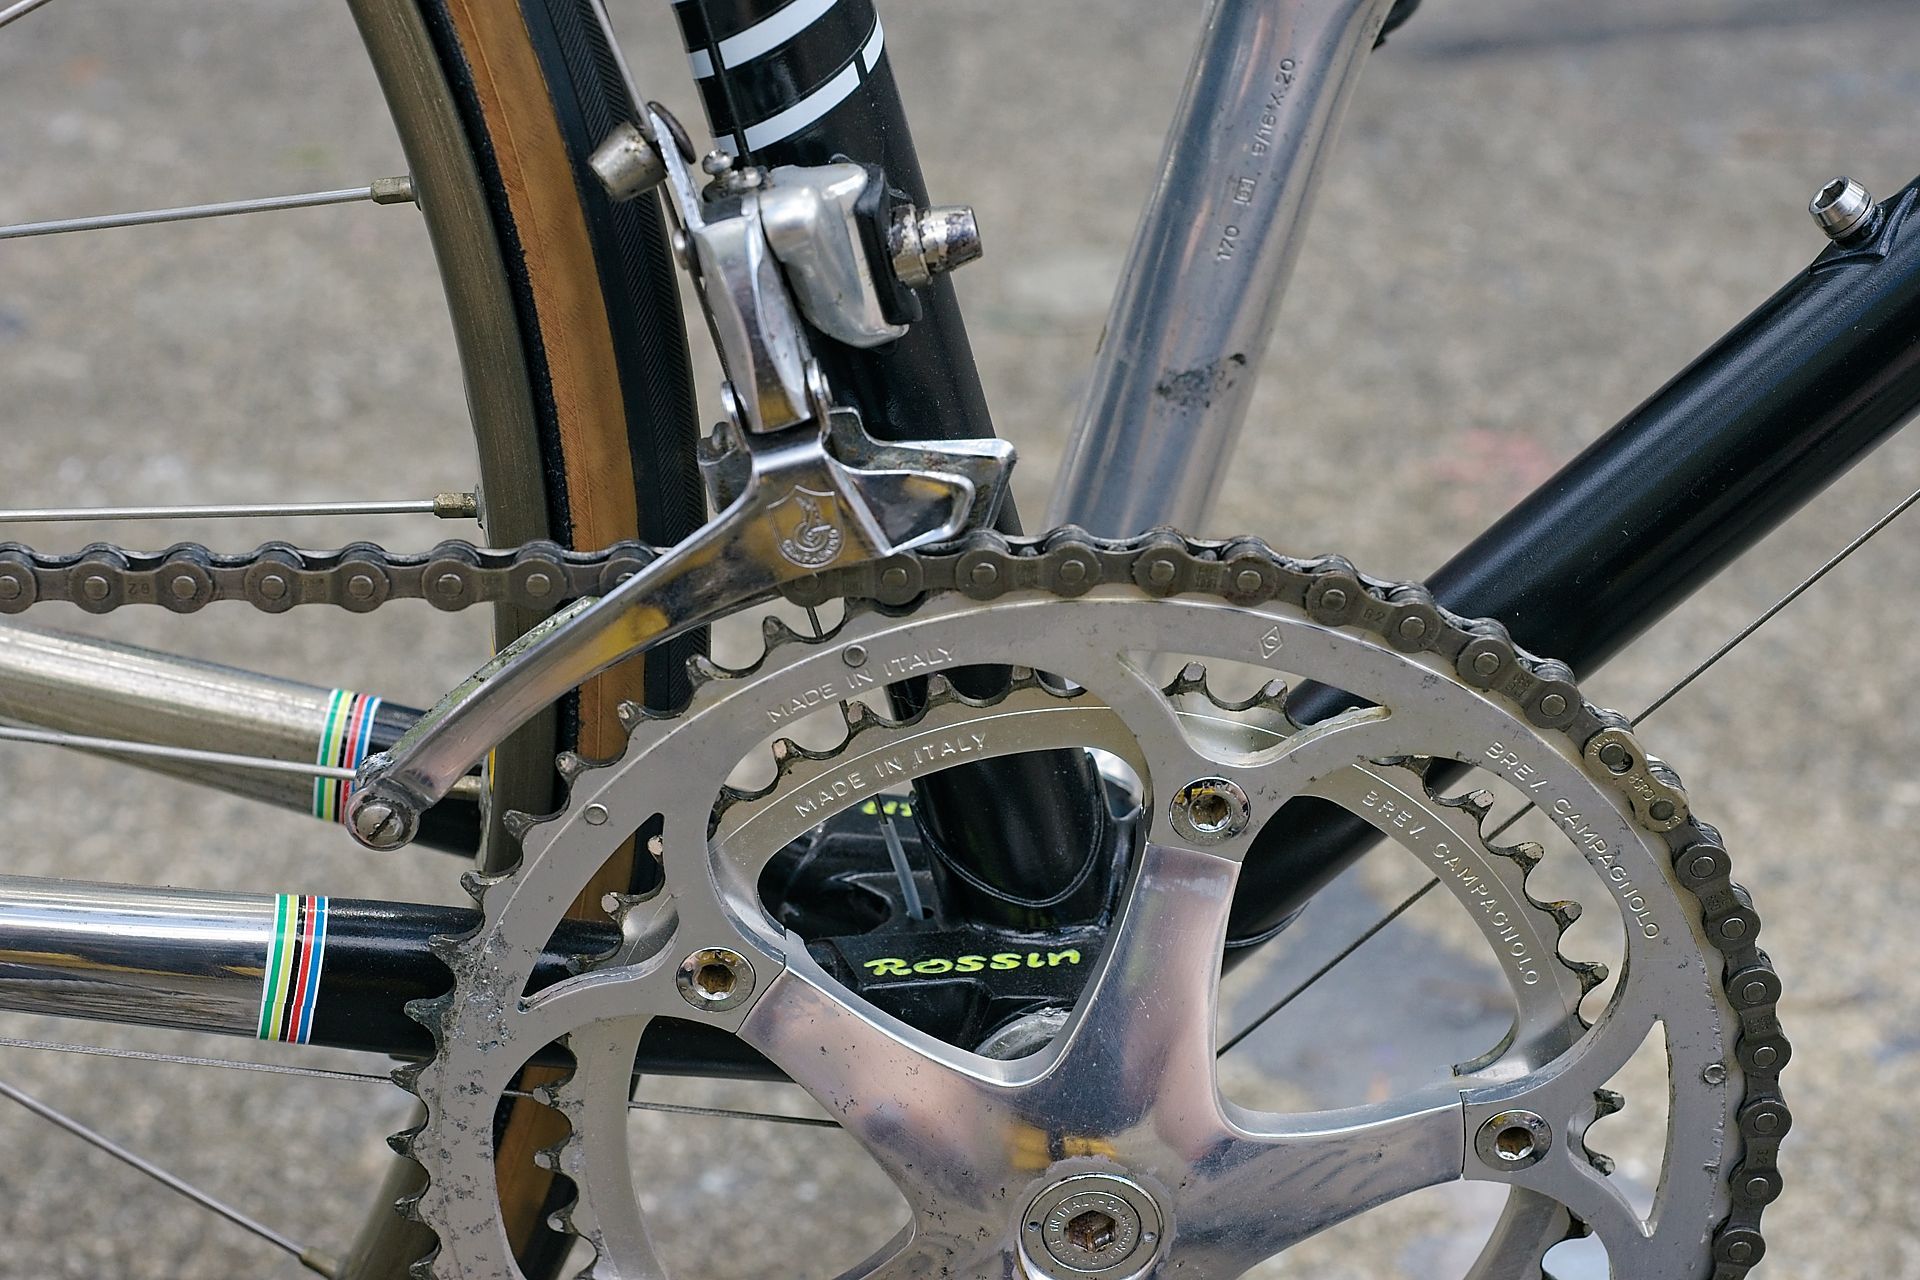
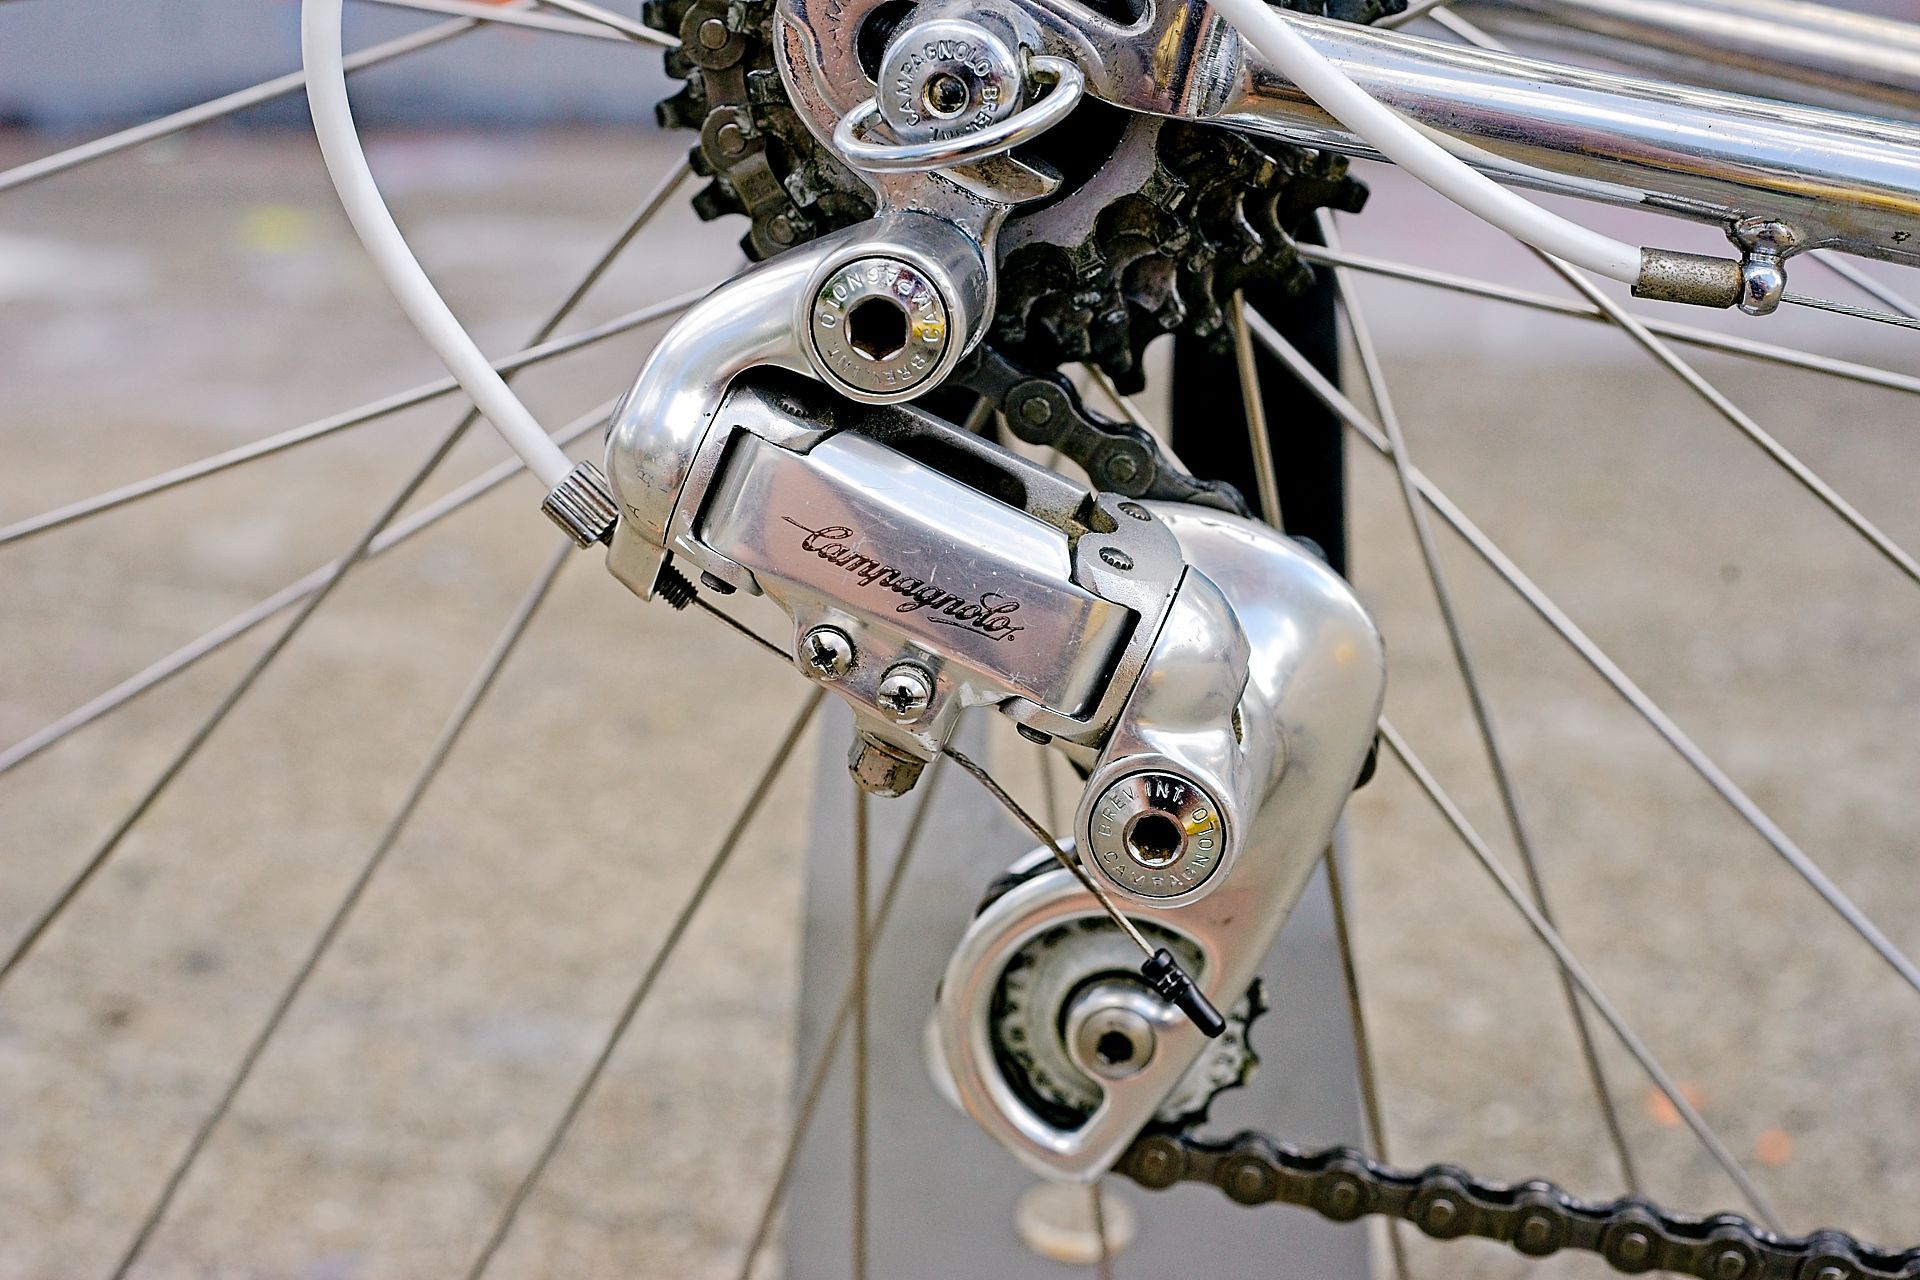
Your magnificent steel bike has details the world needs to see in all their glory. Lugs, the bottom bracket shell, the pantos, the wonderful alloy drivetrain, hubs, spokes and wheels. Get those wet wipes handy and swap to a macro lens. I’m using a 50mm macro, it allows close focusing and super detail including all the dirt you missed. Using your fancy tripod move the camera to be as parallel as possible to the subject which will ensure an even focus across the shot. Again use the largest aperture that’s appropriate for the shot you are trying you take. This will ensure any distracting elements are out of focus while the detail is sharply in focus.

You can also position the camera at an angle to the subject which will draw attention to the element in focus and blur the rest. Greater control over your camera and lenses provides more creative opportunities. Using the tripod means you can shoot, review, clean and shoot again until you get the shot you were looking for. The image below shows control of a messy background with the top of front lever completely in focus.

Typical shot run sheet
For recording a machine for a historical register, the following shots are required as a minimum:
- Full profile.
- Frame junctions including headtube, downtube, seat tube, bottom bracket.
- Dropouts without wheels, front and rear and on both sides. Manufacturers name and any markings should be clear and details such as portacatena holes should be clear.
- Decals and logos.
- Pantographs and other frame details.
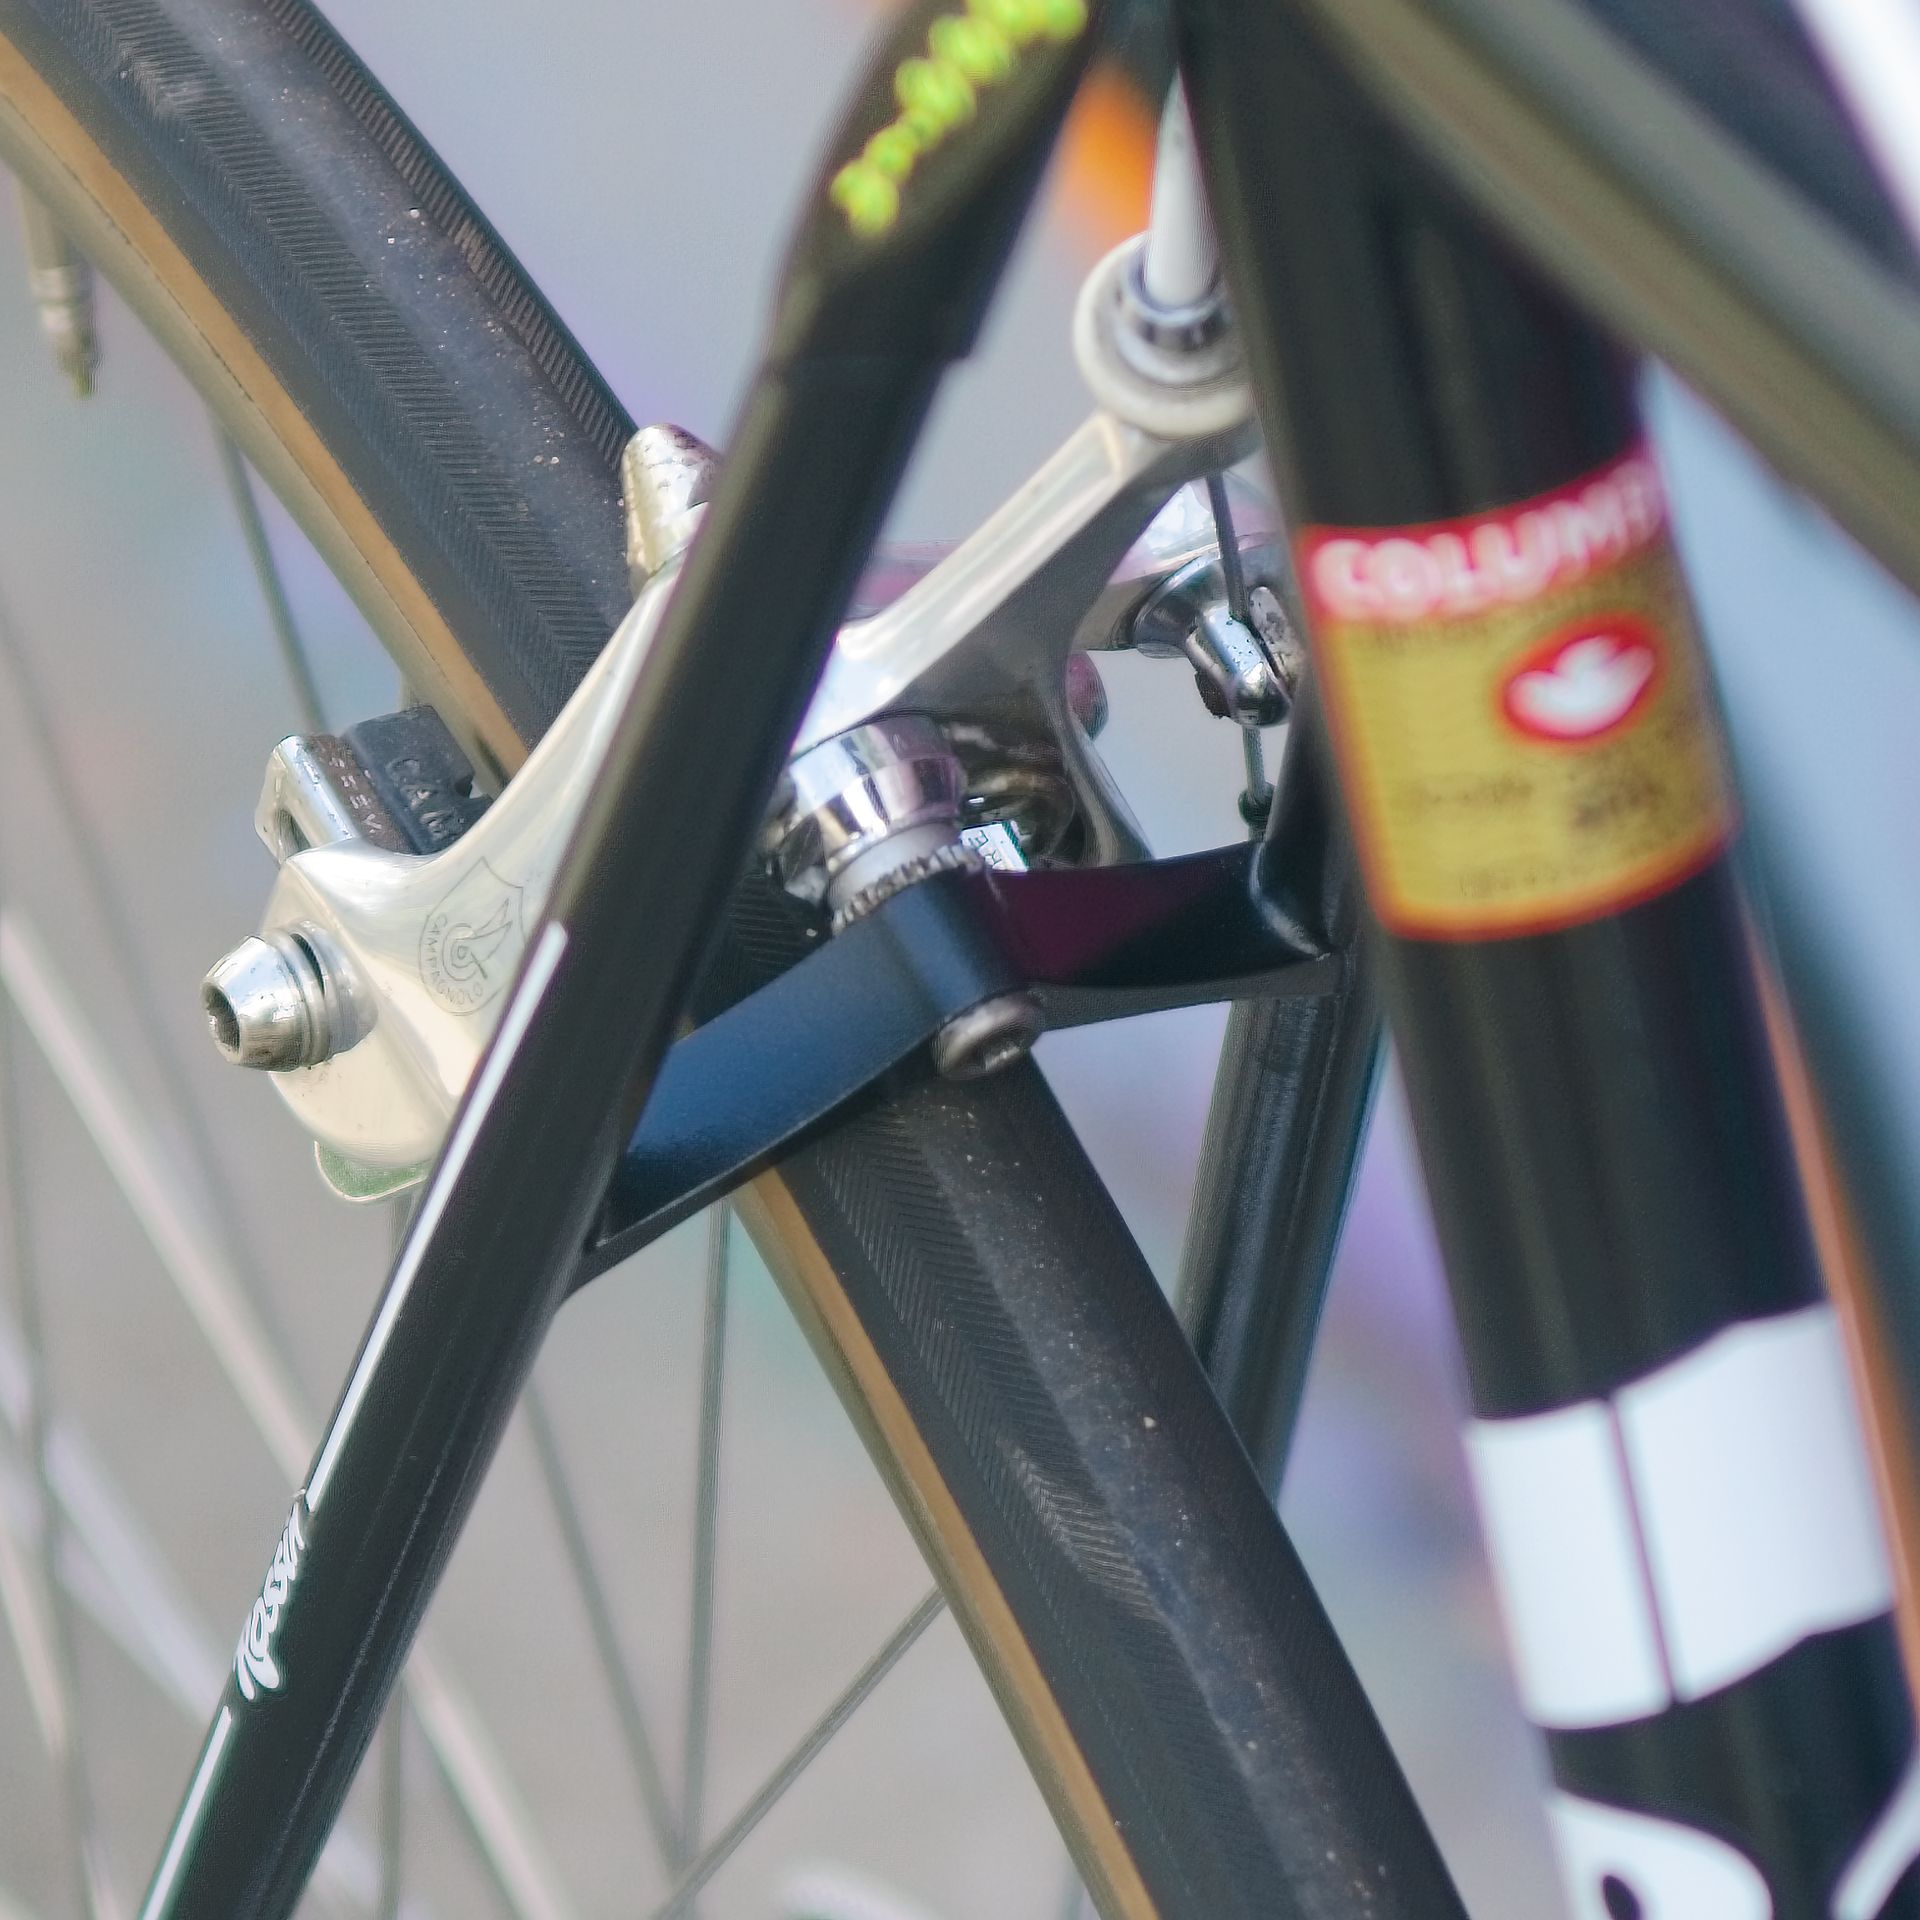
- Rear brake bridge.
- Bottom bracket including the underside and any details such as pantos or other cast or engraved details.
Using a mobile phone
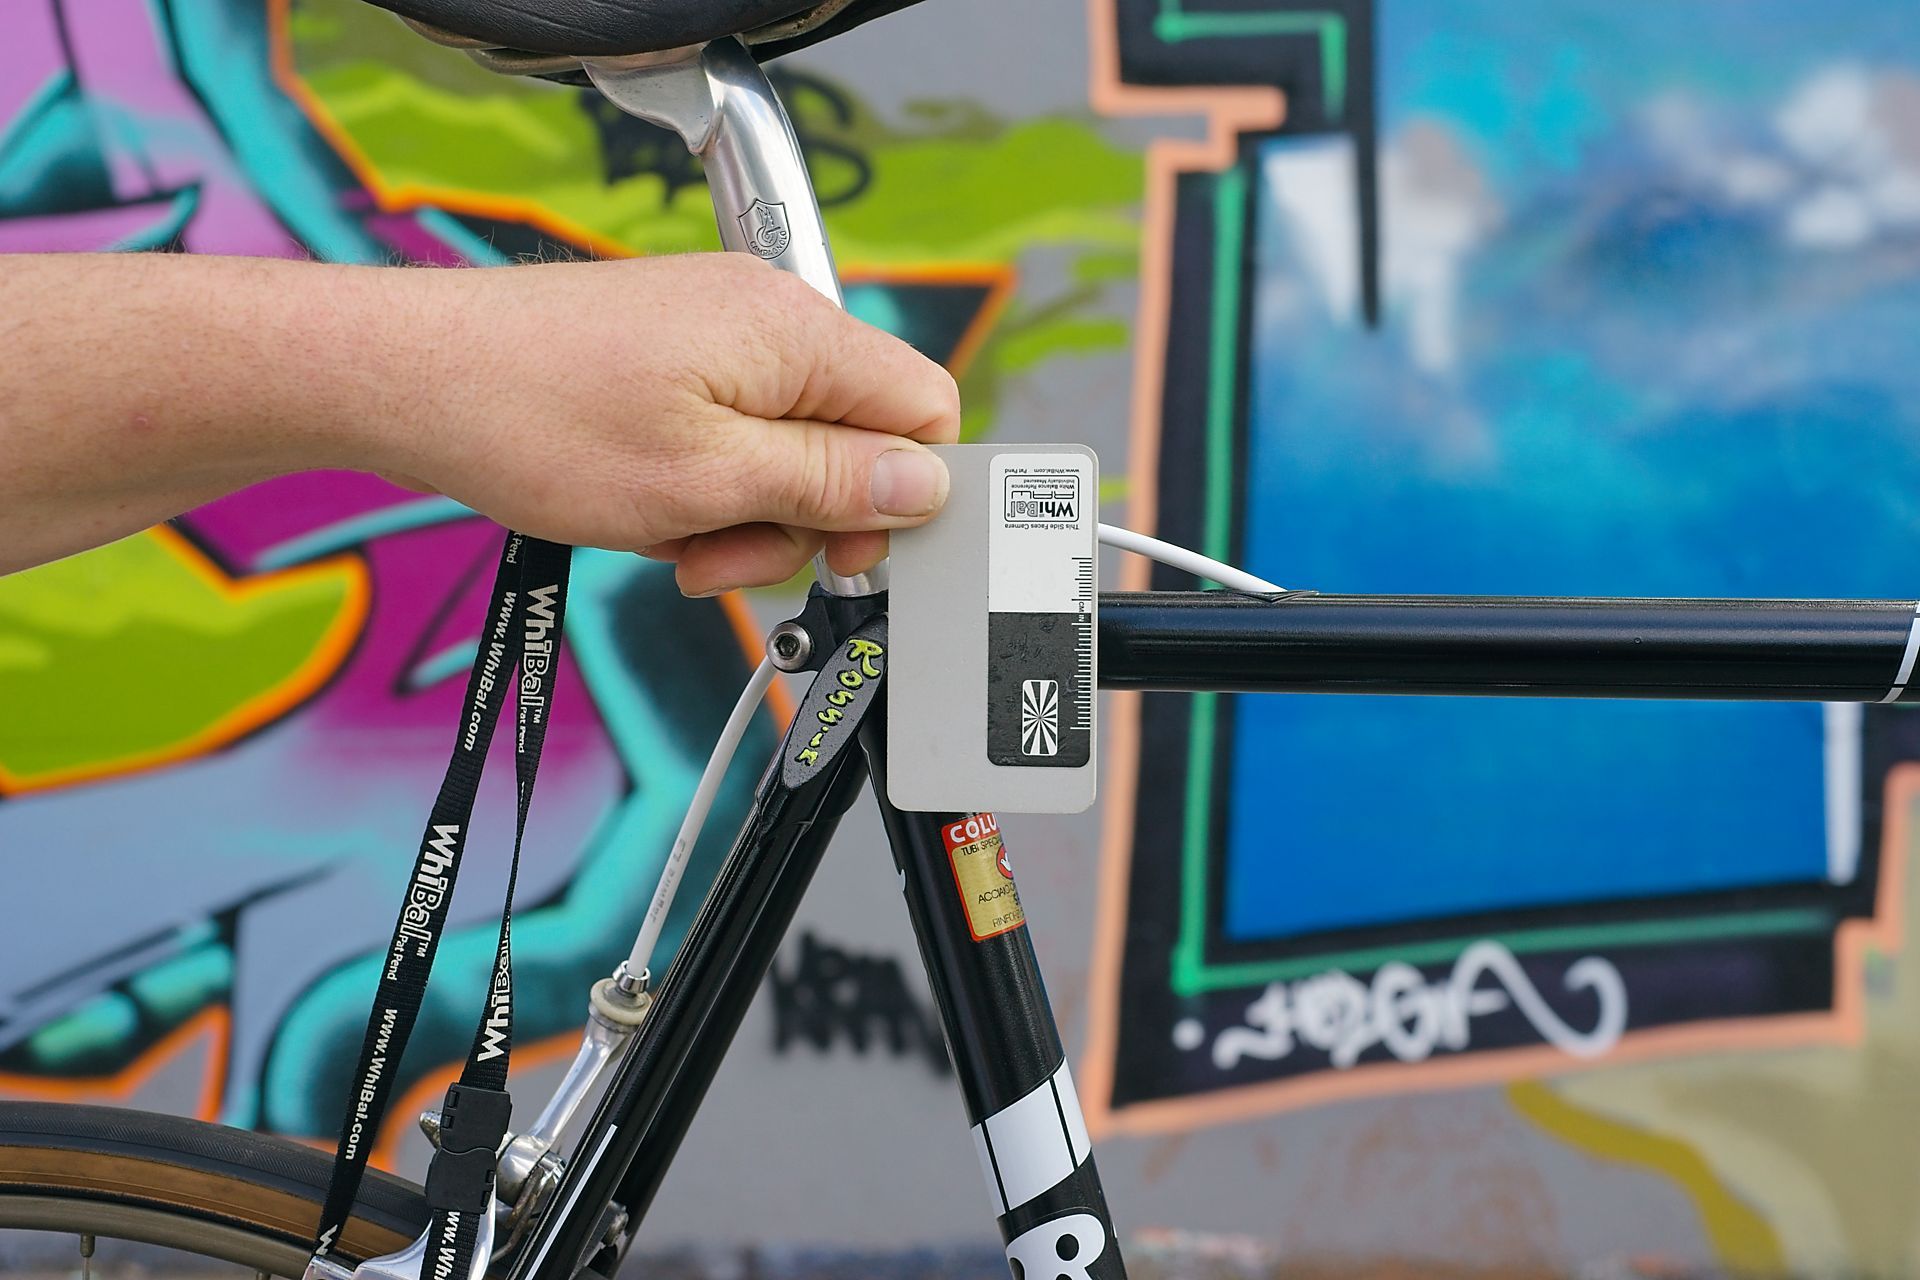
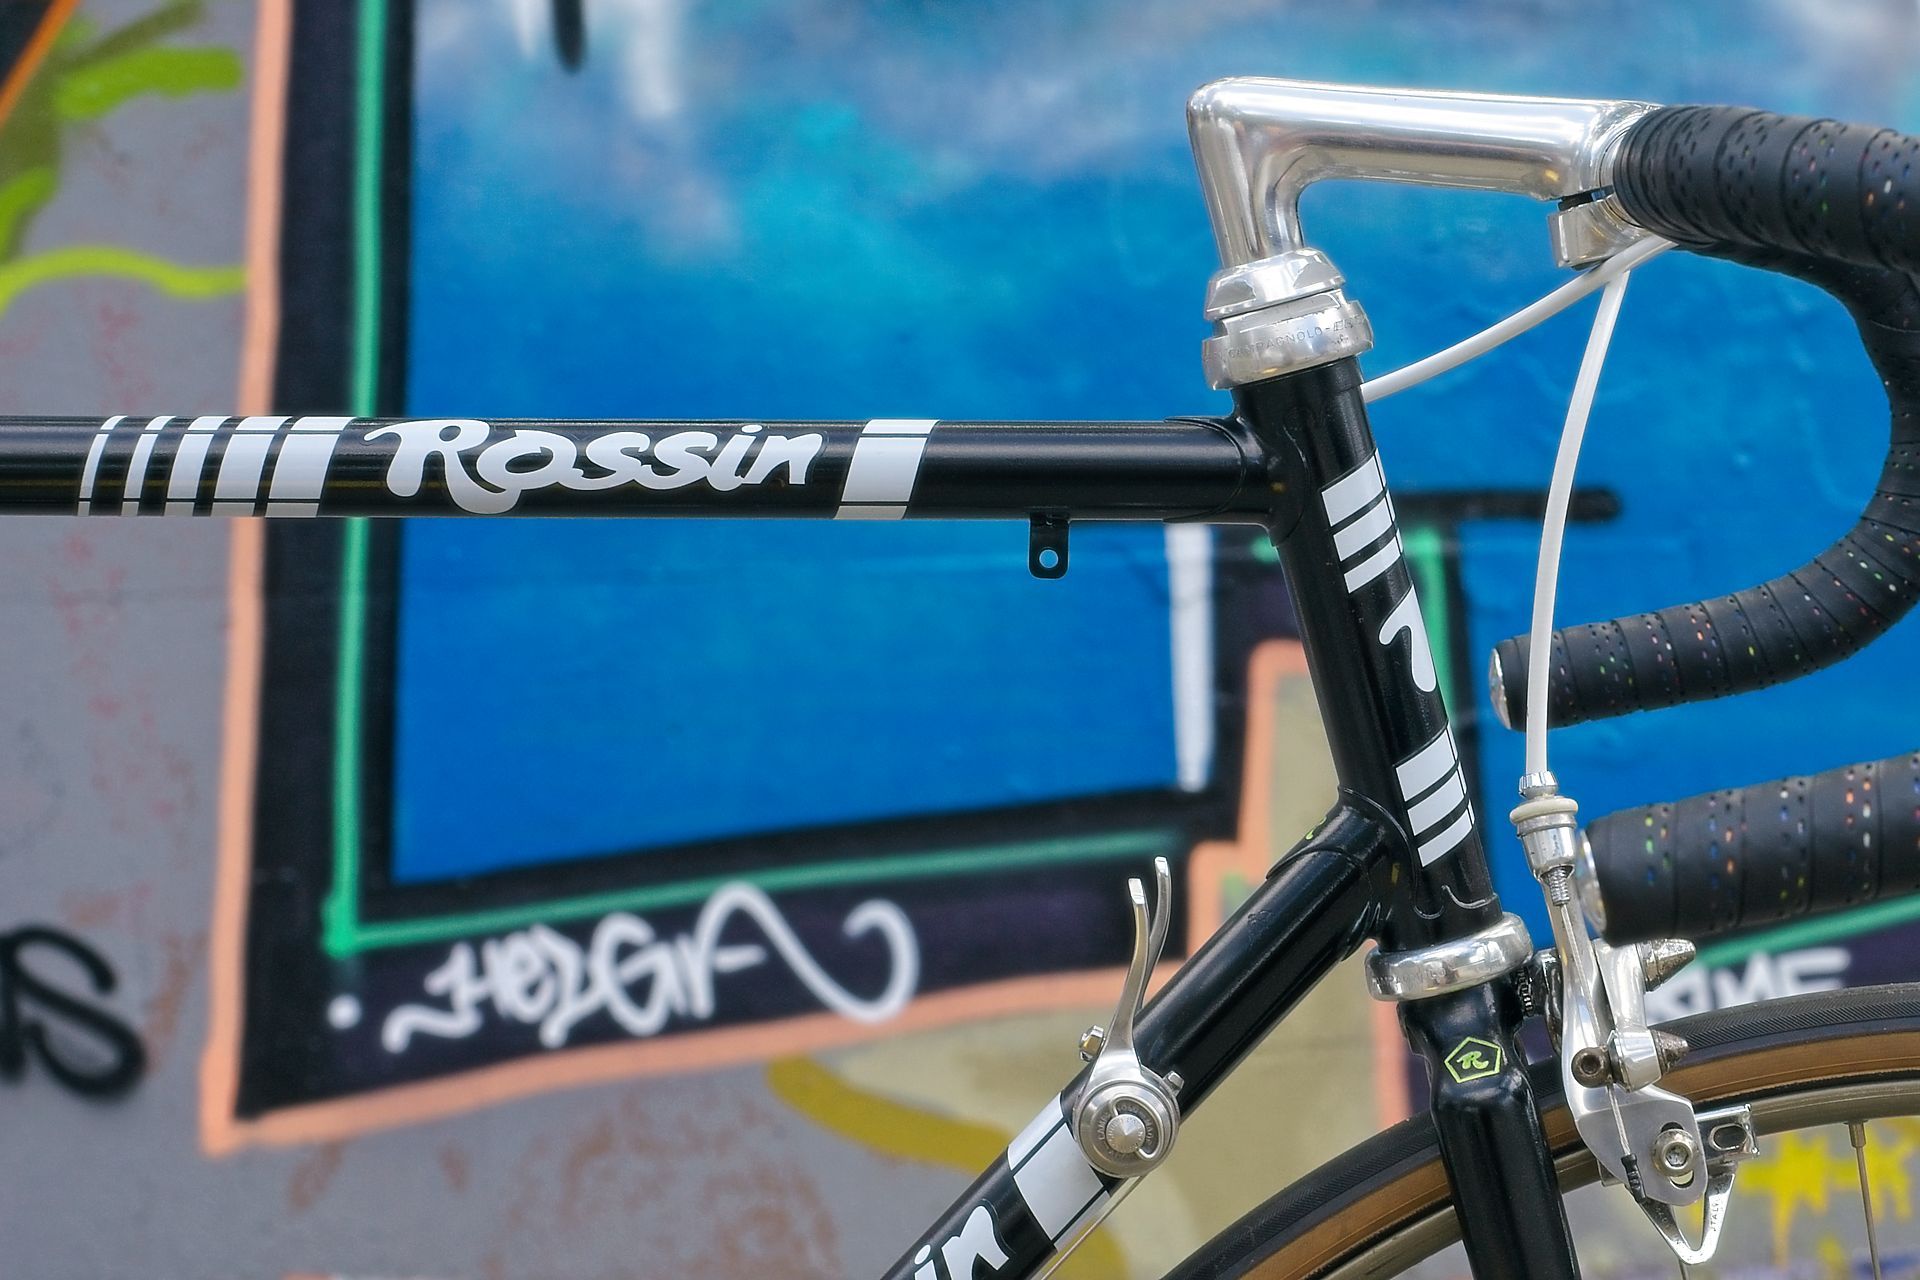
Its entirely possible to use a mobile phone and get awesome results. However its worth knowing that the phone is using software to simulate the depth of field and bokeh rather than creating it optically and so sometimes strange results occur. But when done right, the results are good enough and there’s no messing about with lenses and tripods required. The secret sauce is to use the portrait mode for body shots, and the macro mode for close ups. Portrait mode makes images like the ones below possible.


Results
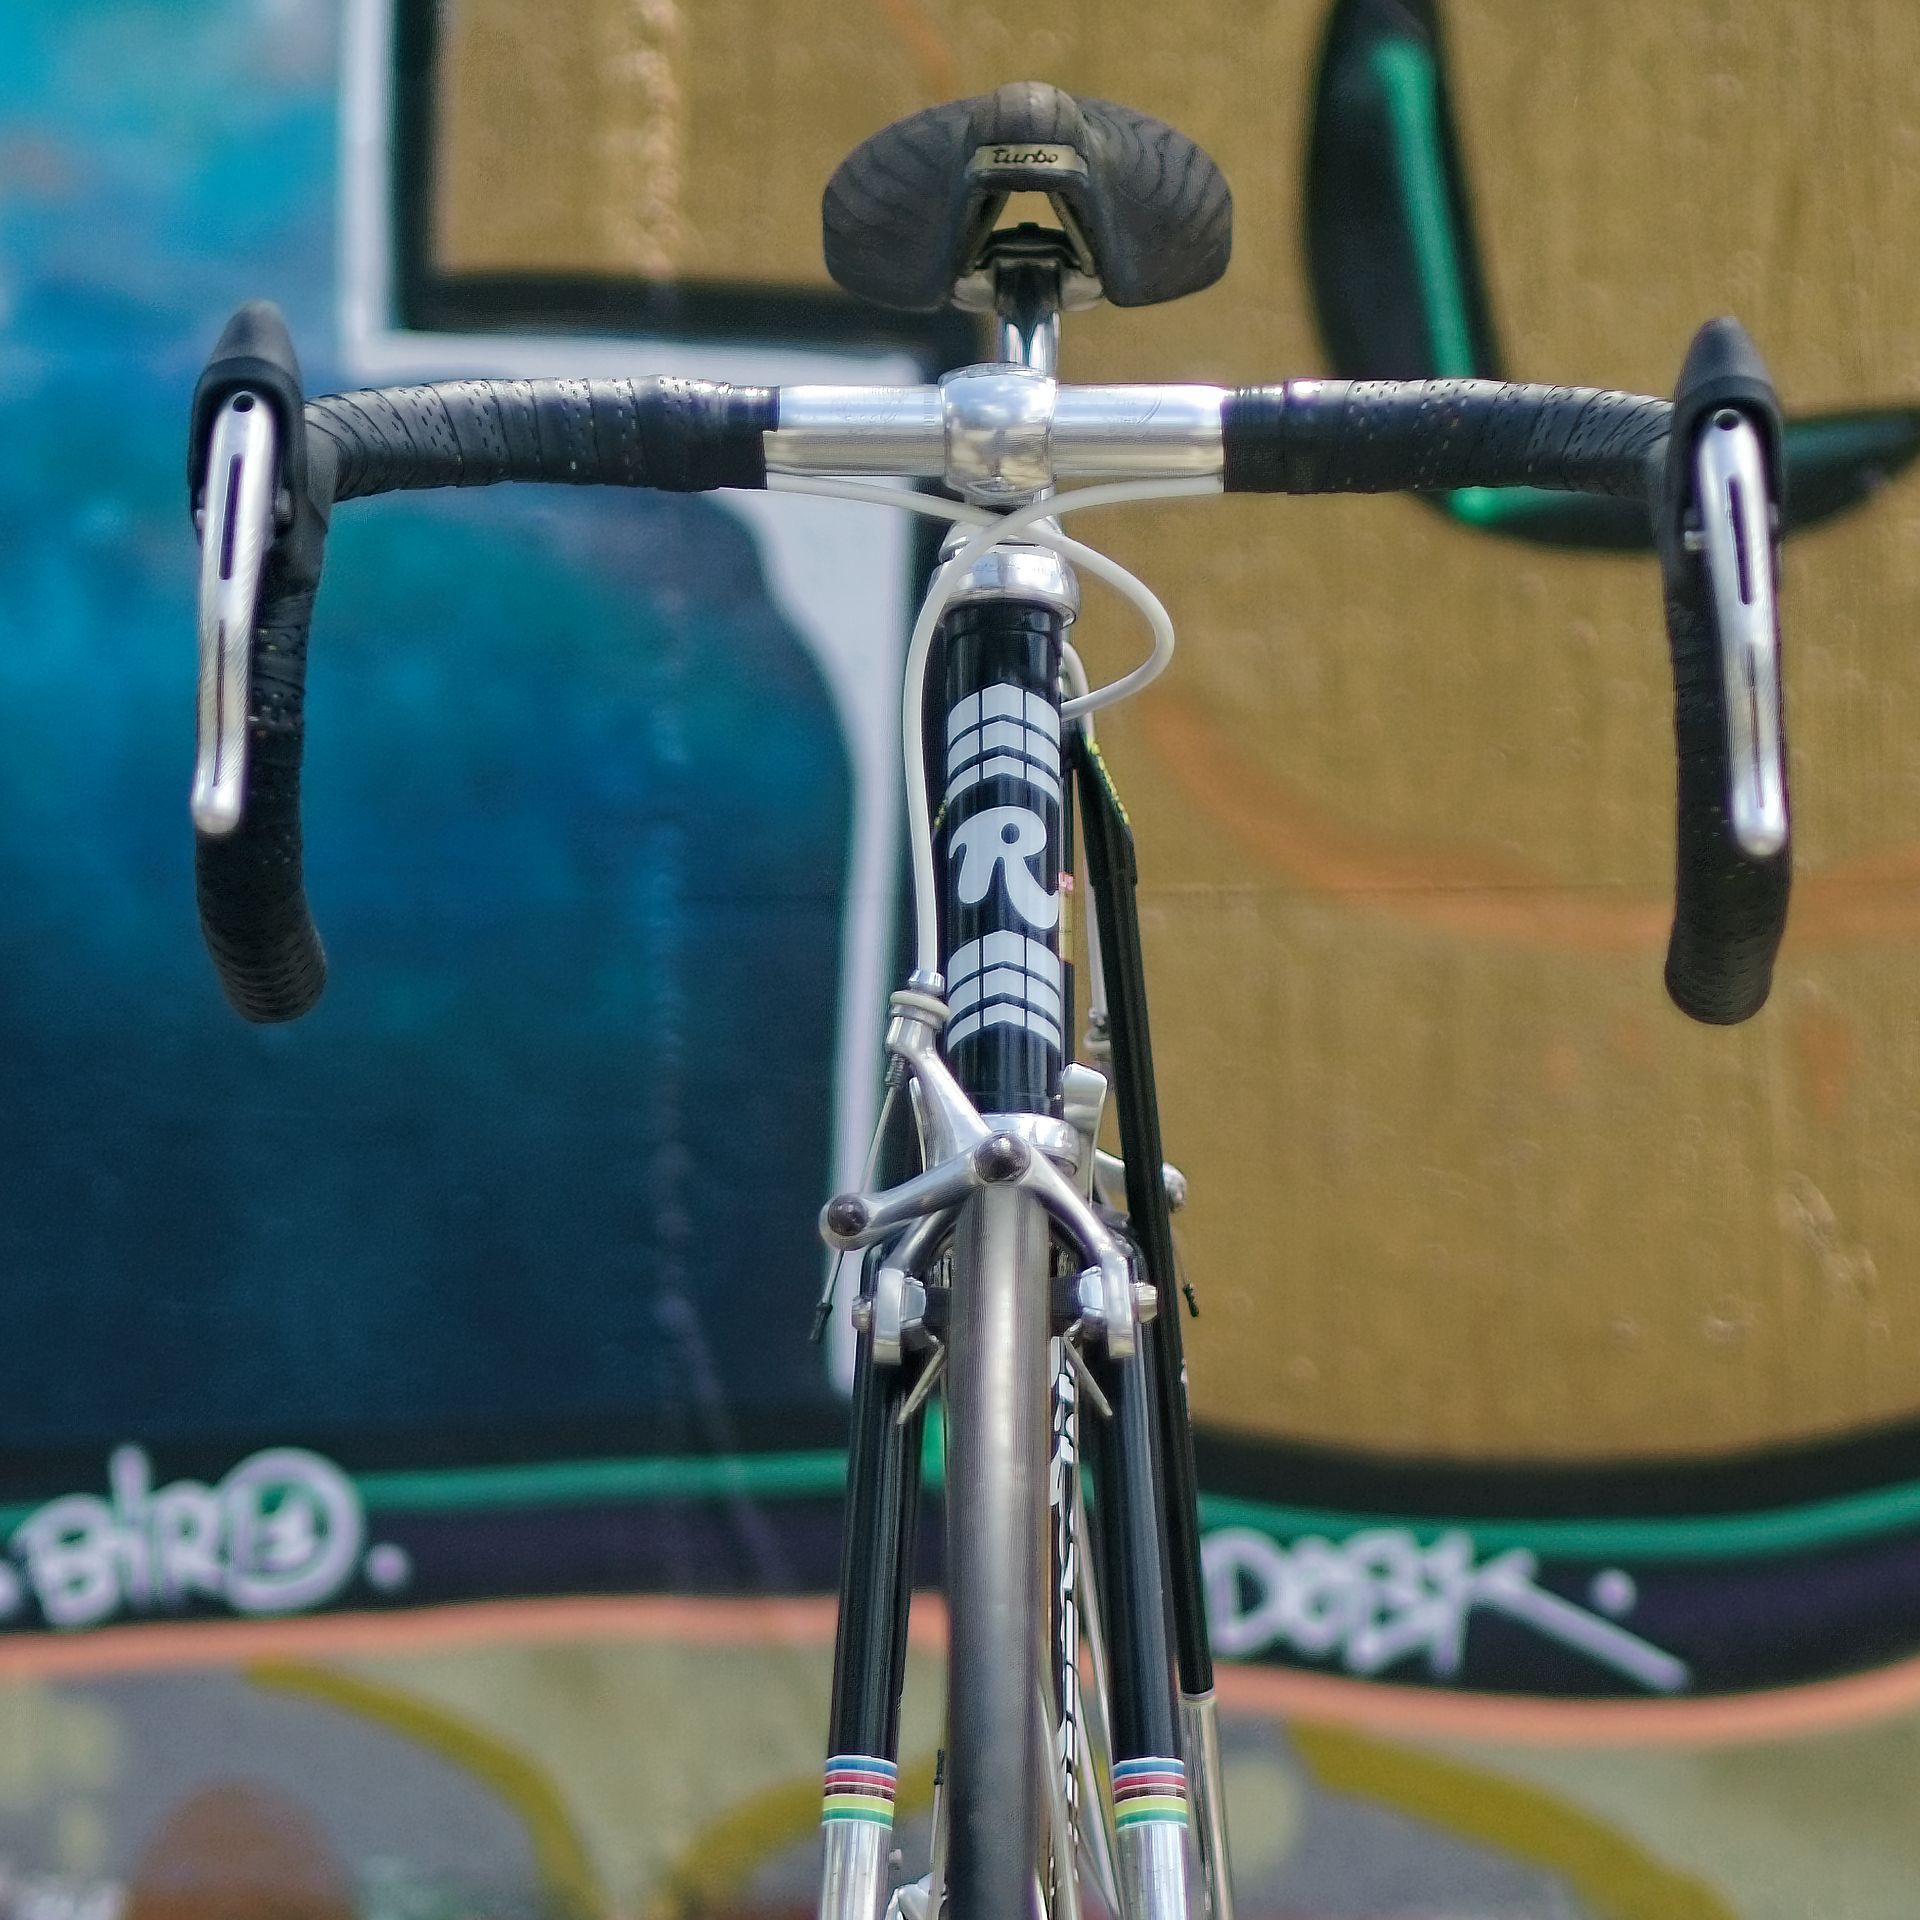
The images below are of Gabe’s Rossin shot using the Tingalpa public artspace as a backdrop. The bike was clean and the component patina added authenticity to the images rather than digitally taking it out. There is one image where I should have used the tripod to ensure the entire logo was in focus. Other than that this was a fairly successful shoot with minimal post processing.


